
She
is amazingly tight and looks in better shape than Ricochet did when I
viewed her. I'll be getting her in the shop as soon as the
transport company can get her to me. Here is a post I did
about her with some photos.
More to come when I get them.
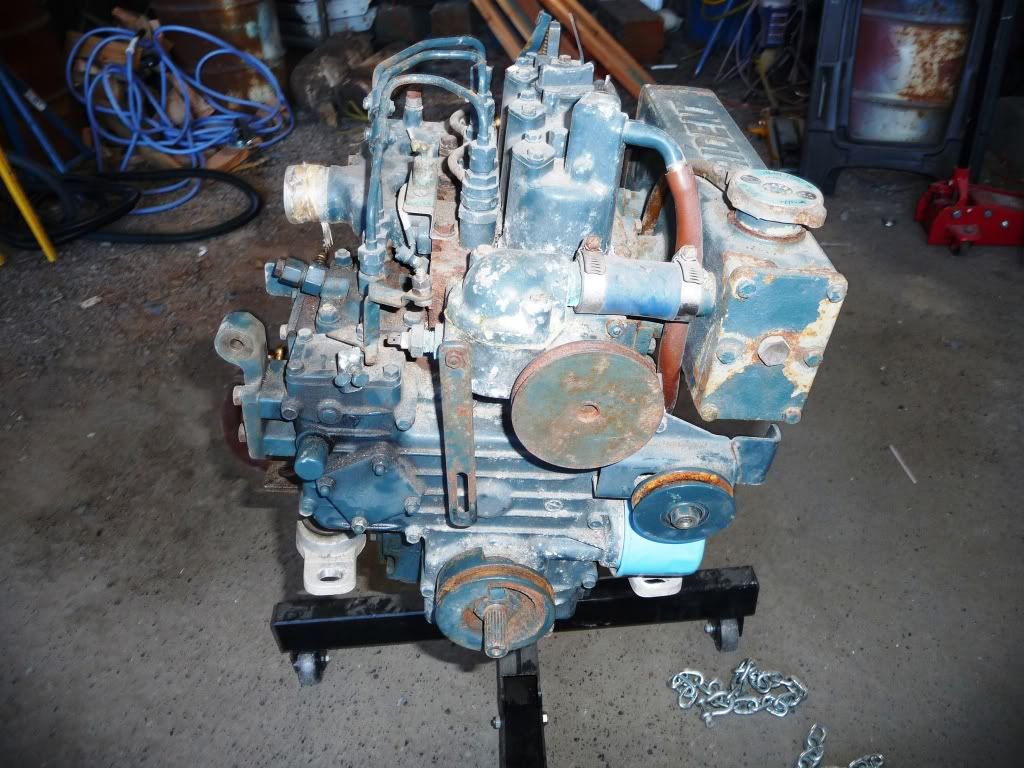 It
spins freely, seems to have good compression and has both
compression relief and glow plugs. My big old Perkins has neither. The
heat exchanger is toast.
It
spins freely, seems to have good compression and has both
compression relief and glow plugs. My big old Perkins has neither. The
heat exchanger is toast.
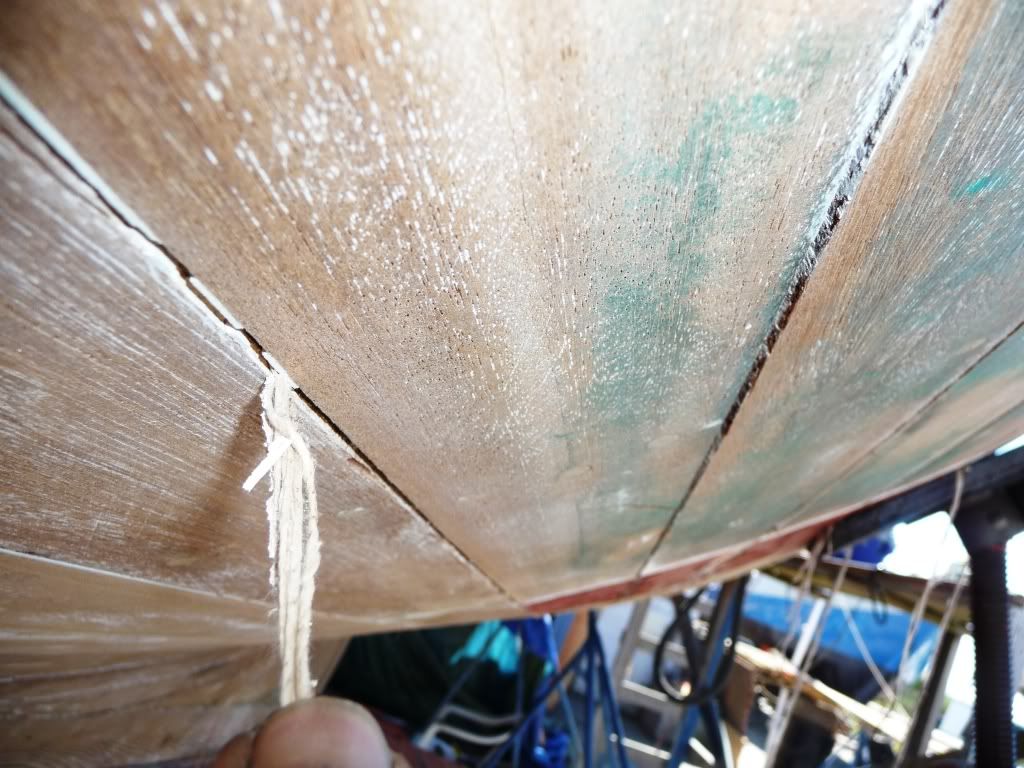
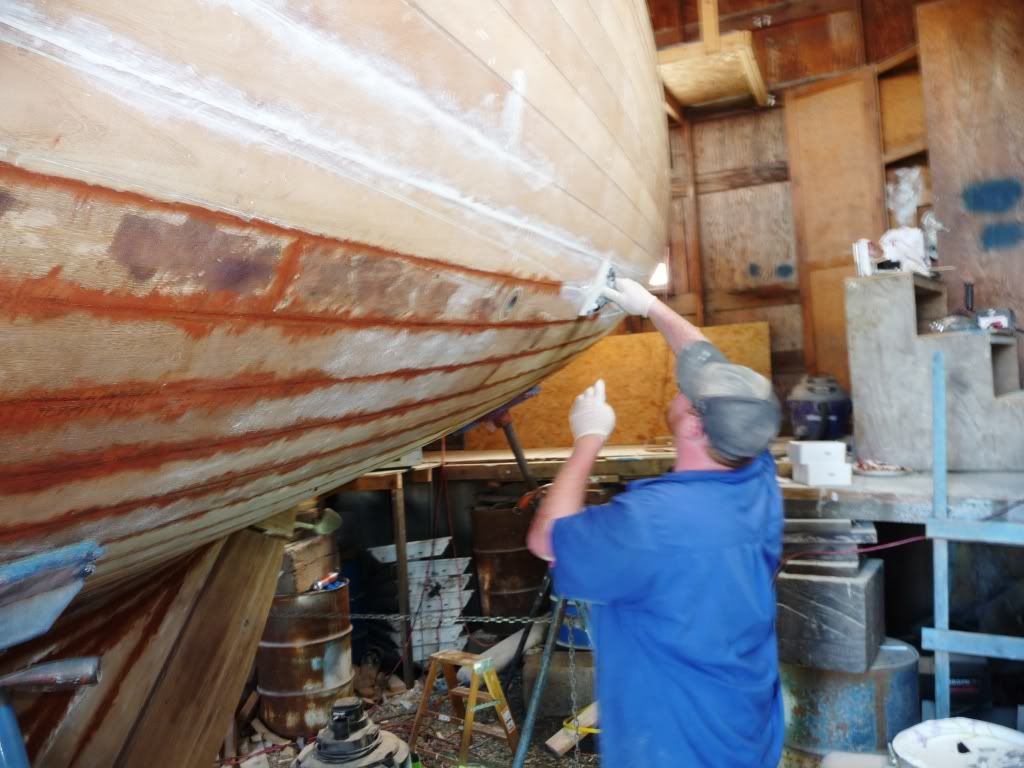
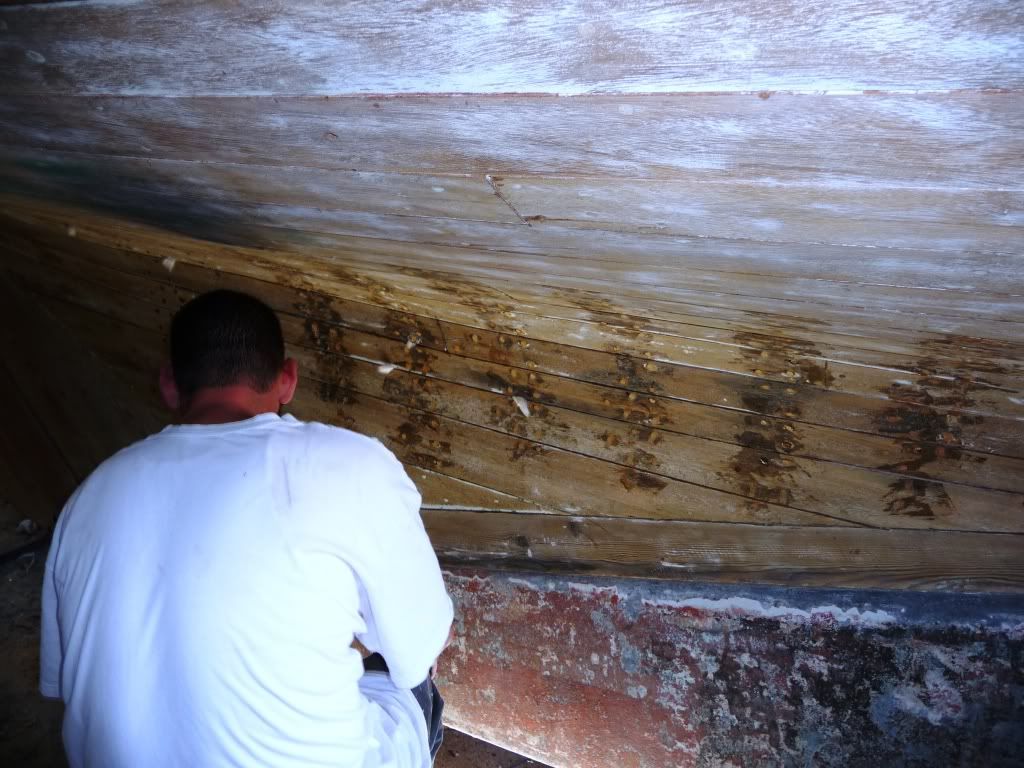
 While
the boys worked with heat guns on the paint, wooding the old
girl, I went after the seams. This job is not entirely painless.
While
the boys worked with heat guns on the paint, wooding the old
girl, I went after the seams. This job is not entirely painless.
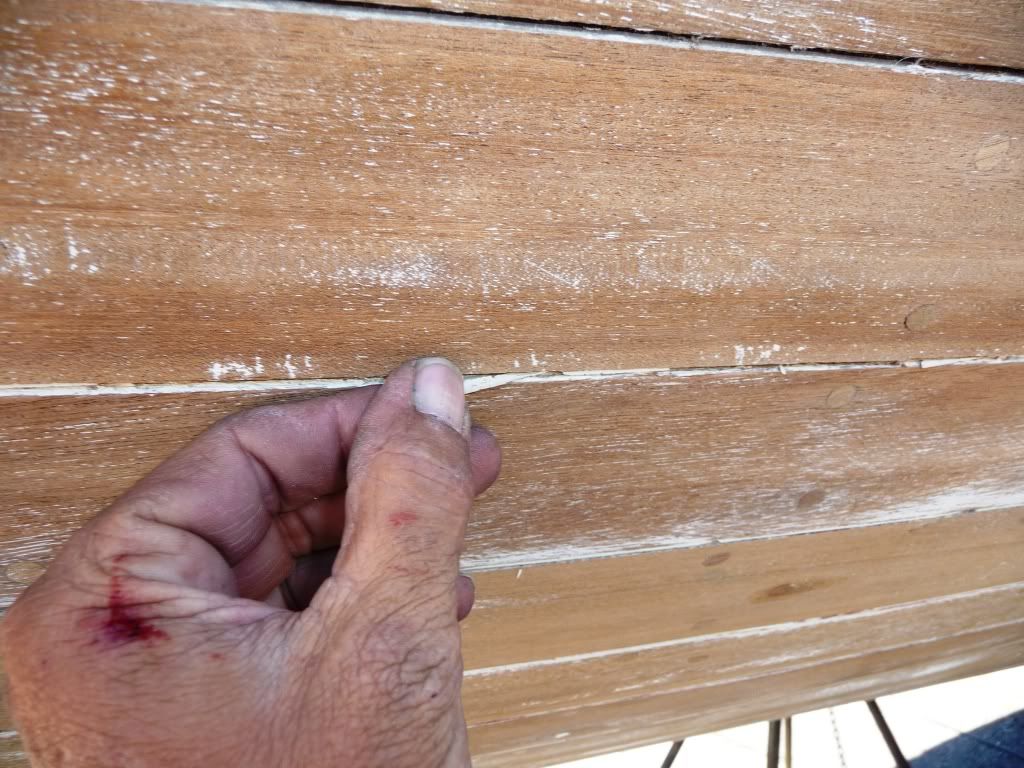 The
compound the previous folks used is like an epoxy, hard as a rock
and sticks well to the wood on whatever side it stuck to. I have to
chip it loose and then reef it out. I'll post a video tonight showing
the painful, tedious process.
The
compound the previous folks used is like an epoxy, hard as a rock
and sticks well to the wood on whatever side it stuck to. I have to
chip it loose and then reef it out. I'll post a video tonight showing
the painful, tedious process.
 Sometimes
I get lucky with a long run, usually not...
Sometimes
I get lucky with a long run, usually not...
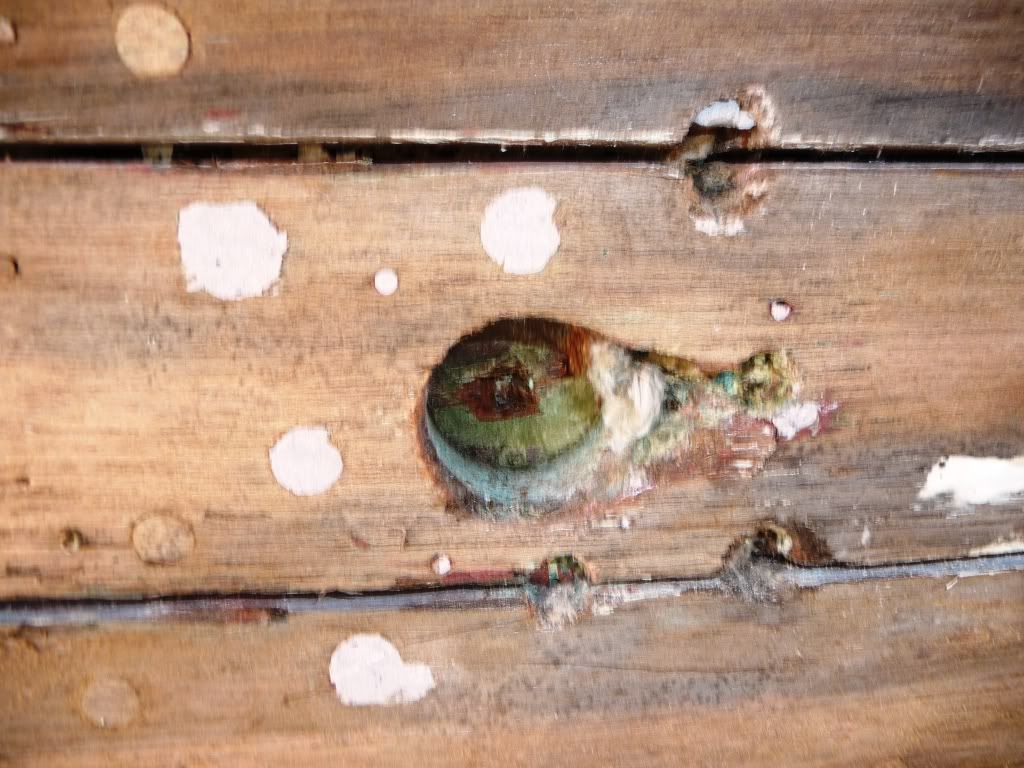
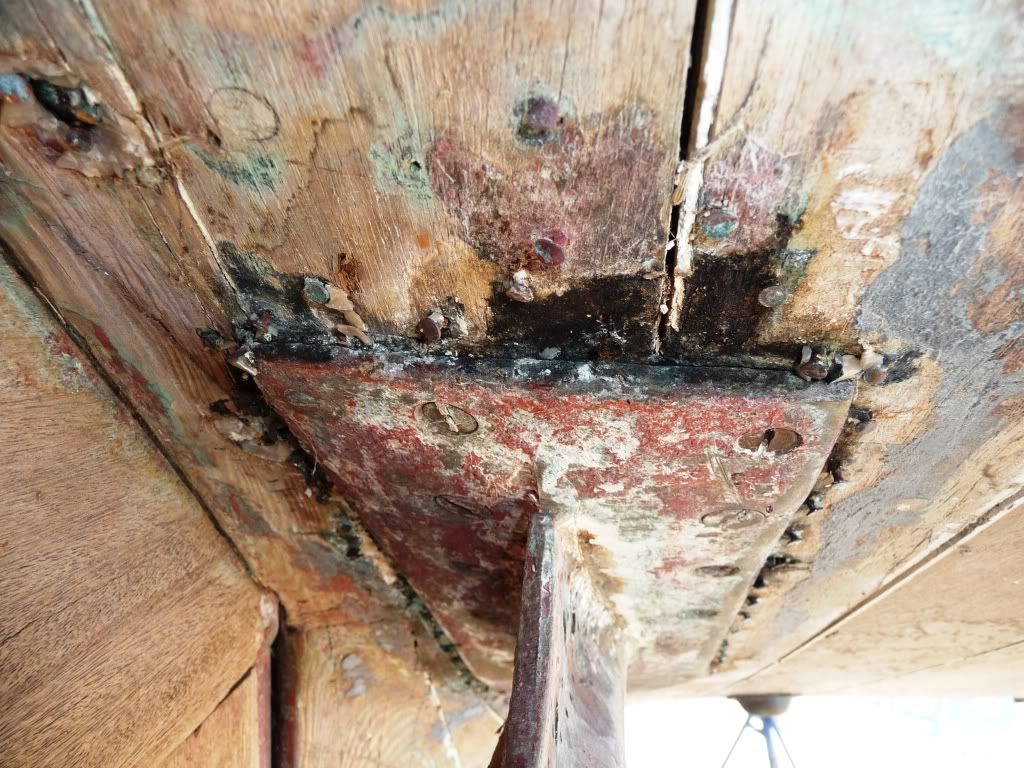
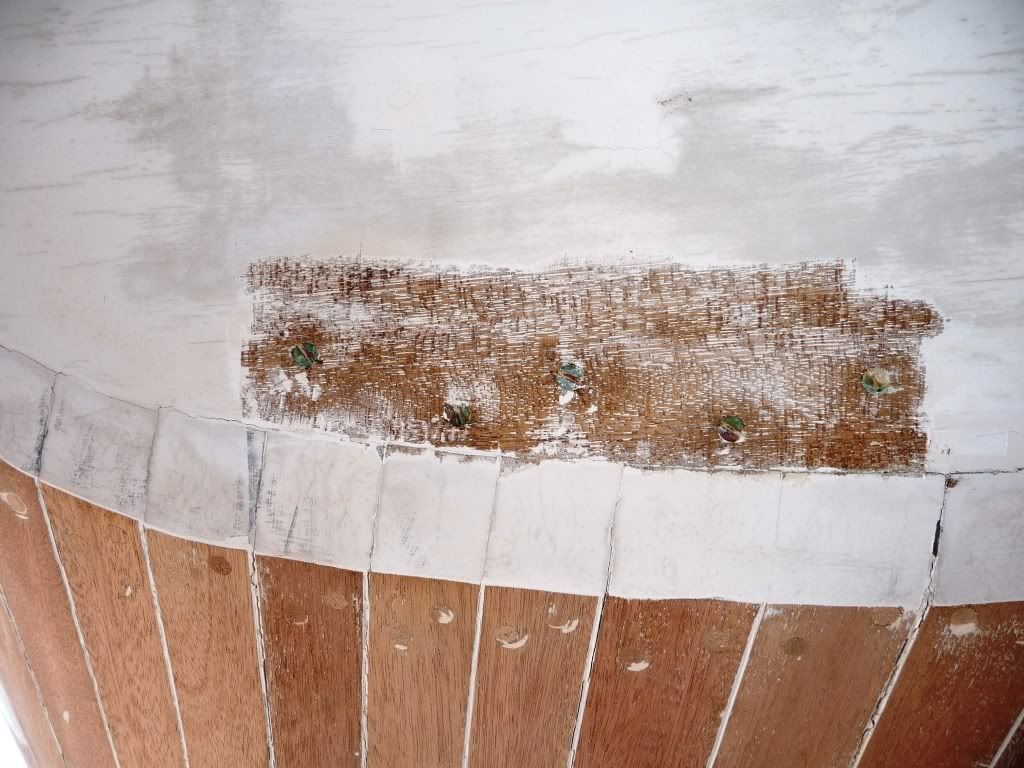
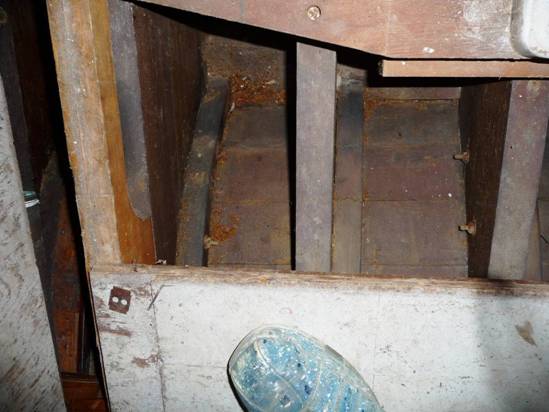
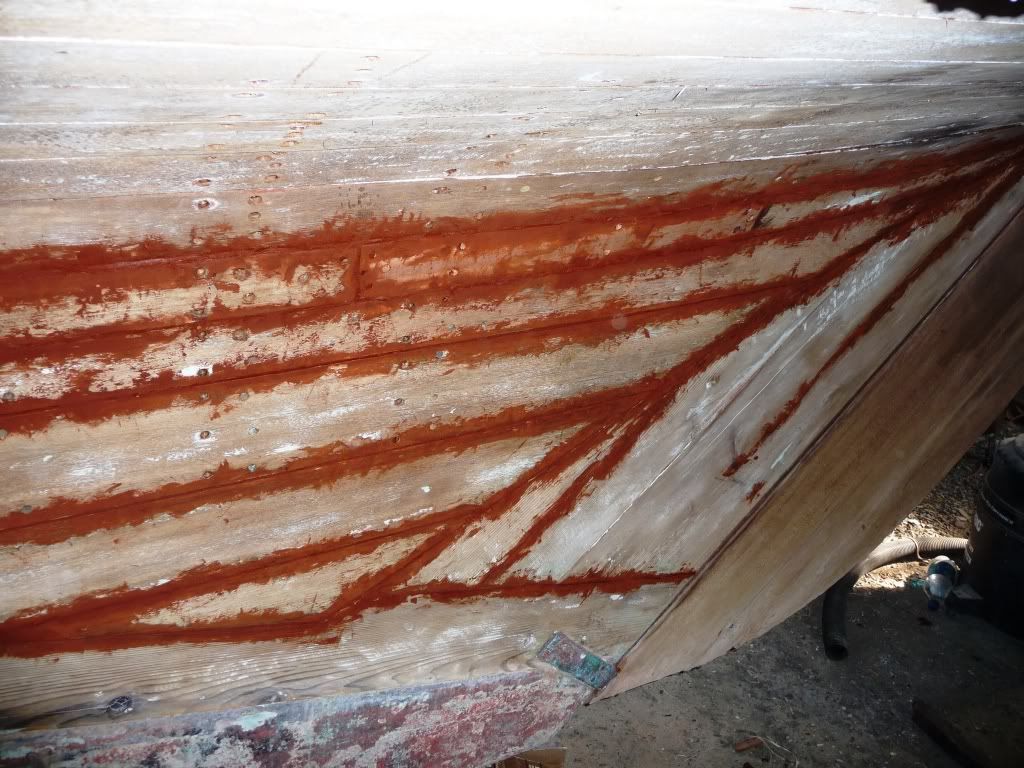
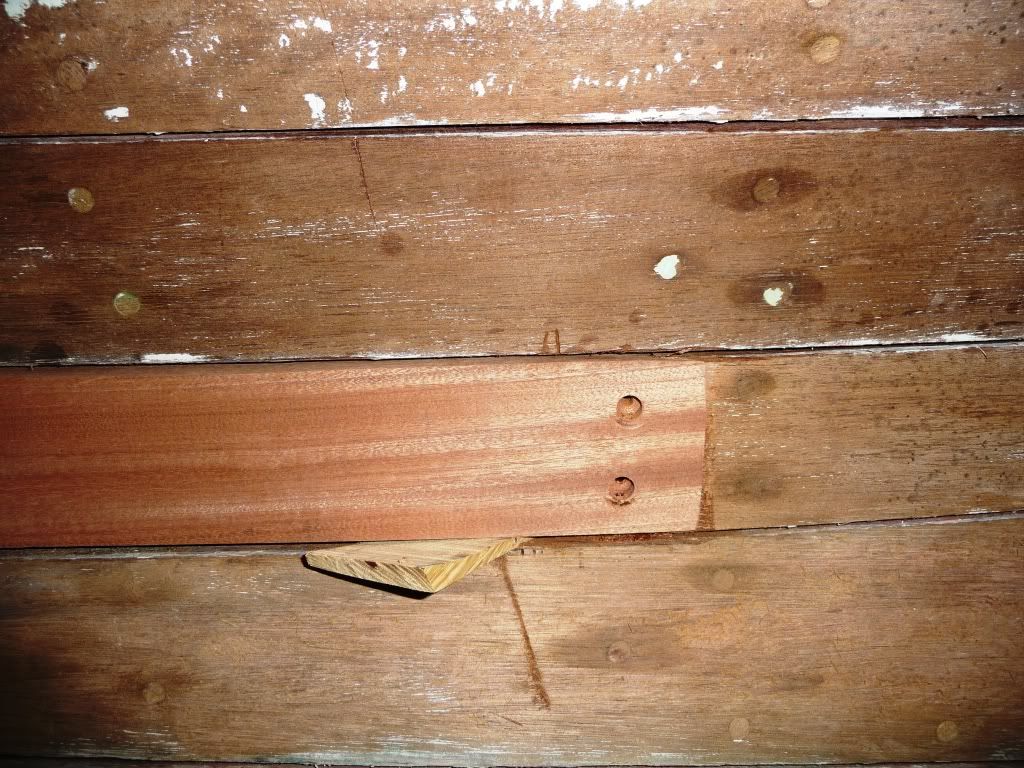
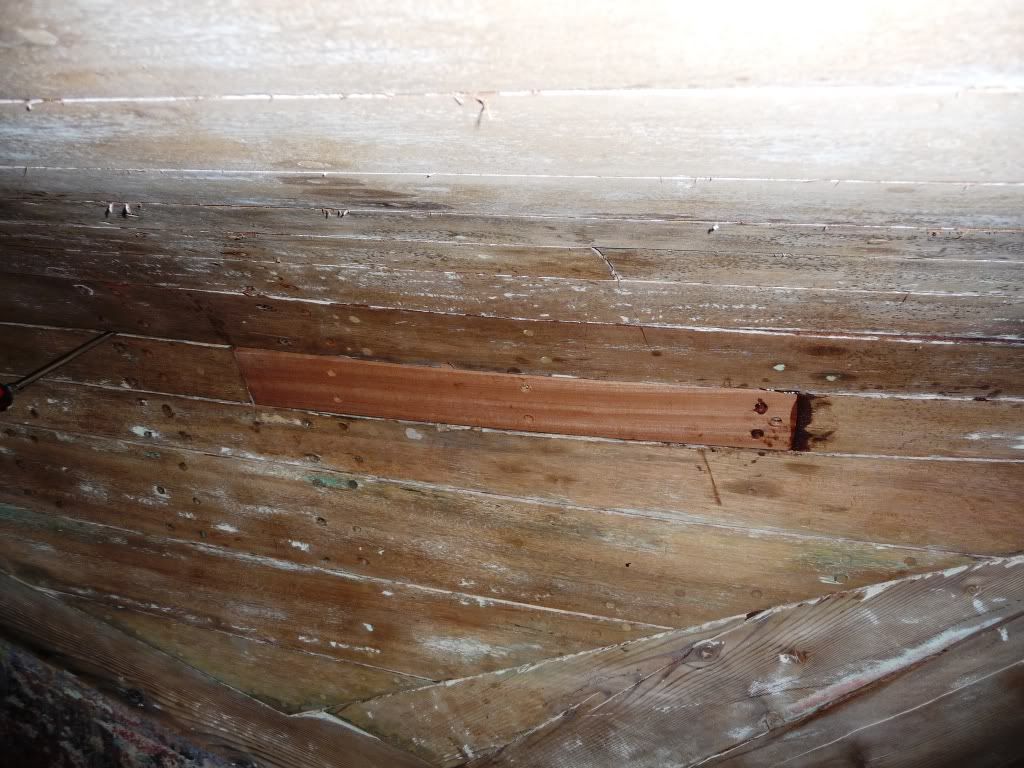
 There
were some dubious repairs done to her in the past, such as this
thru-hull plug with fasteners set in seams. I'll have to scarph in
planking to fix that.
There
were some dubious repairs done to her in the past, such as this
thru-hull plug with fasteners set in seams. I'll have to scarph in
planking to fix that.
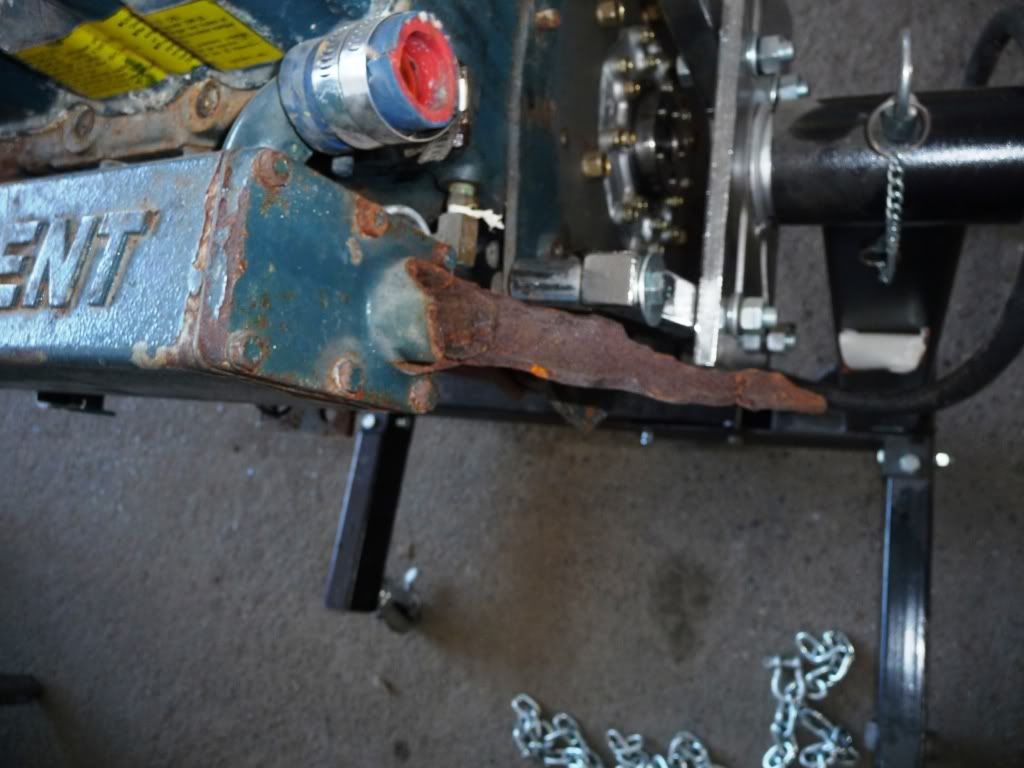
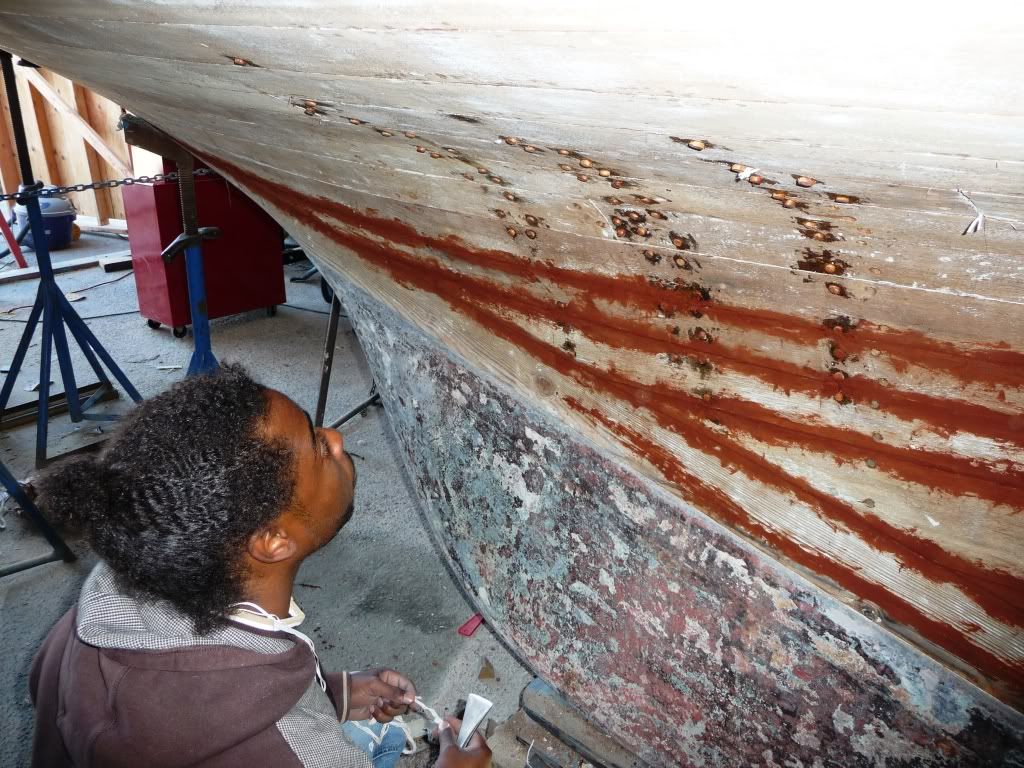
 They
also has drilled holes in the shaft strut in order to make sure
the goop they faired it with stuck. C'mon..., drilling holes in
perfectly good, irreplaceable bronze for THAT? Somebody needs an
a$$kicking...
They
also has drilled holes in the shaft strut in order to make sure
the goop they faired it with stuck. C'mon..., drilling holes in
perfectly good, irreplaceable bronze for THAT? Somebody needs an
a$$kicking...
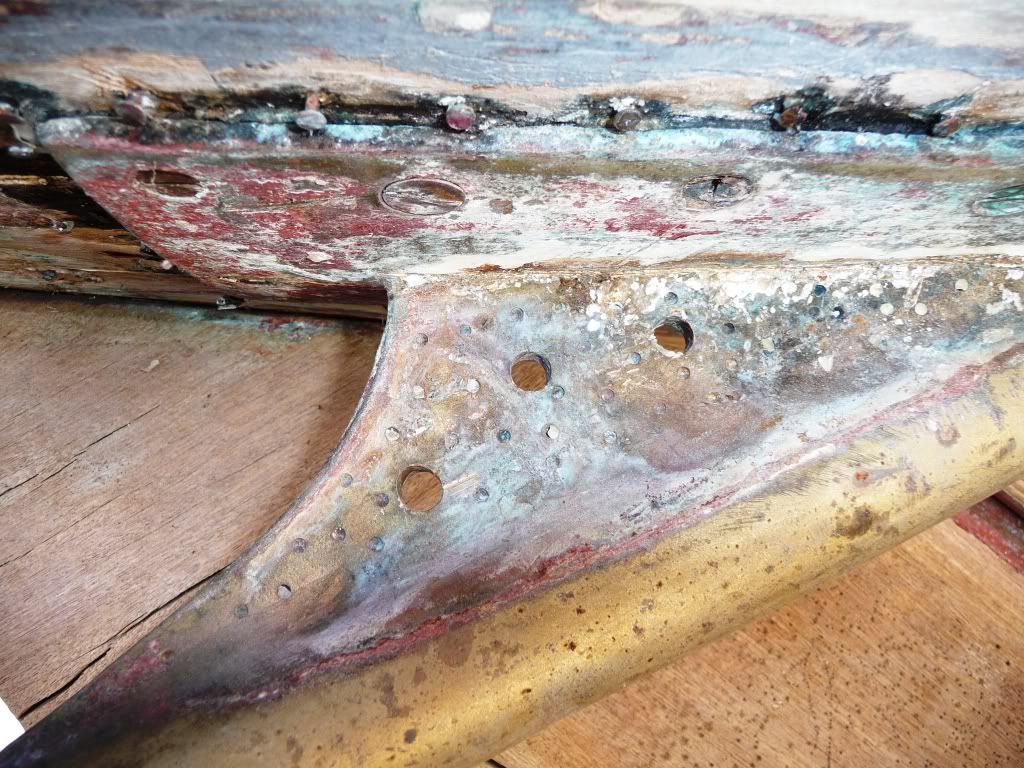 Of
course, the goop they stuck on caused it's own issues that I'll have
to deal with.
Of
course, the goop they stuck on caused it's own issues that I'll have
to deal with.
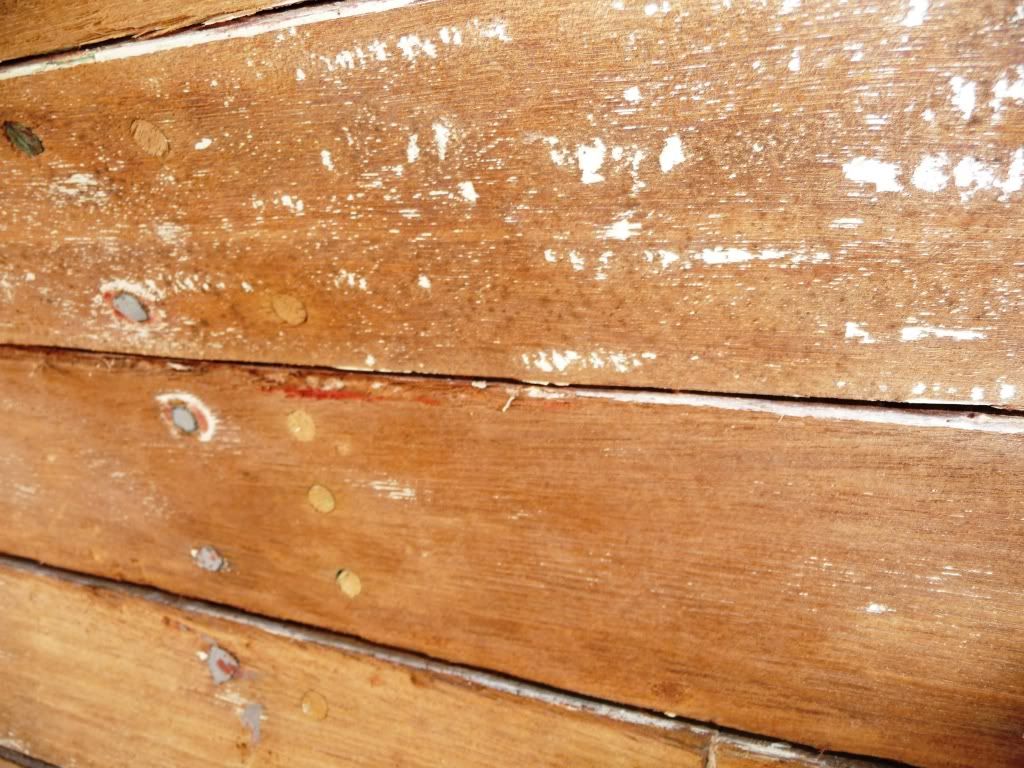
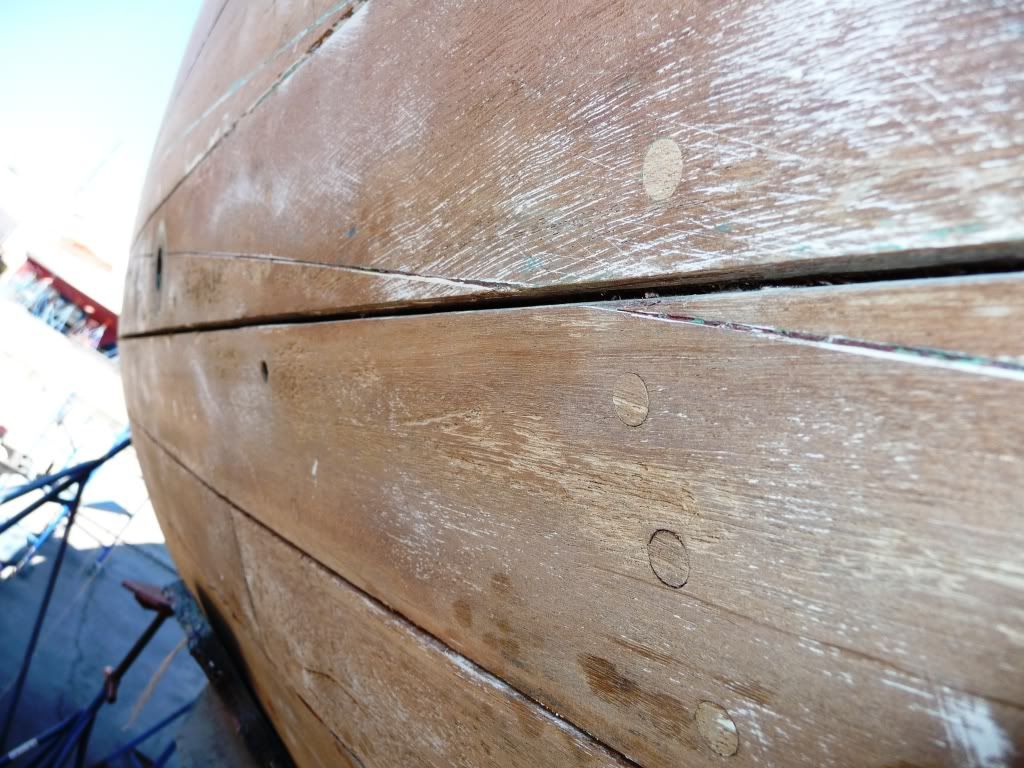
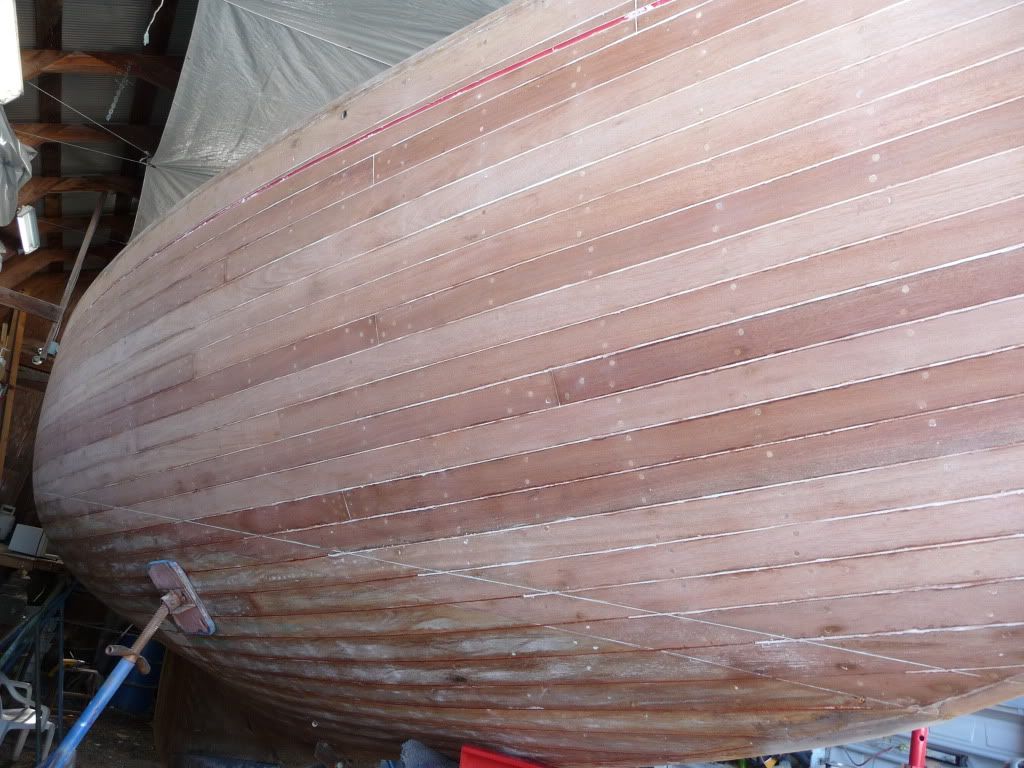
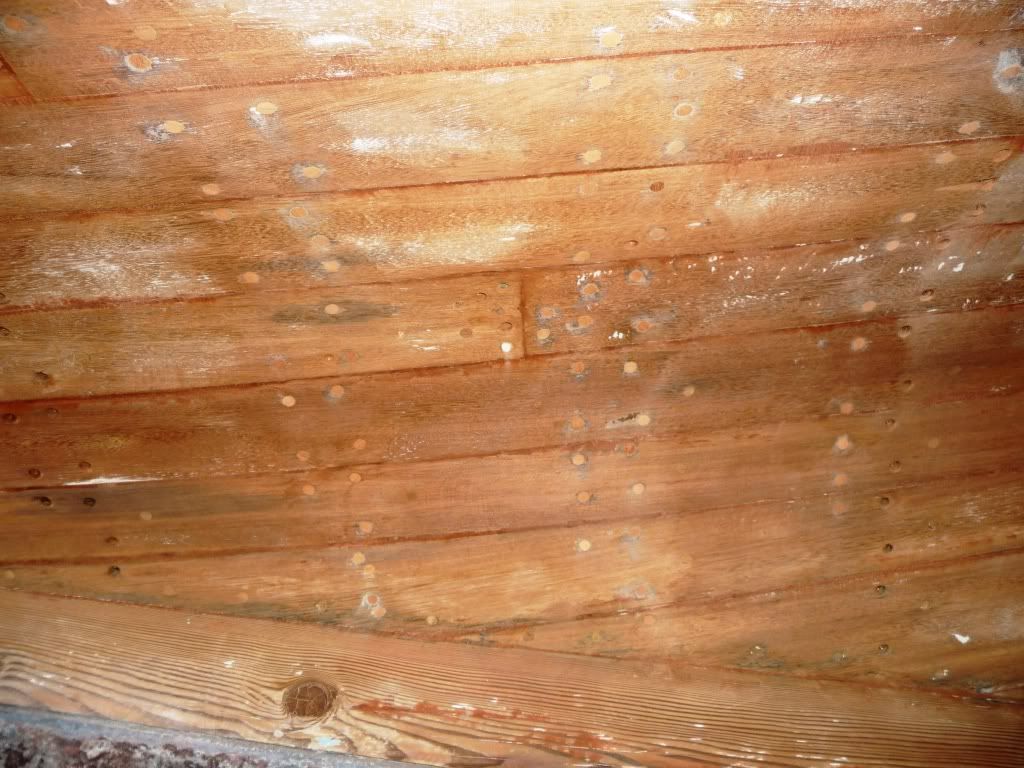
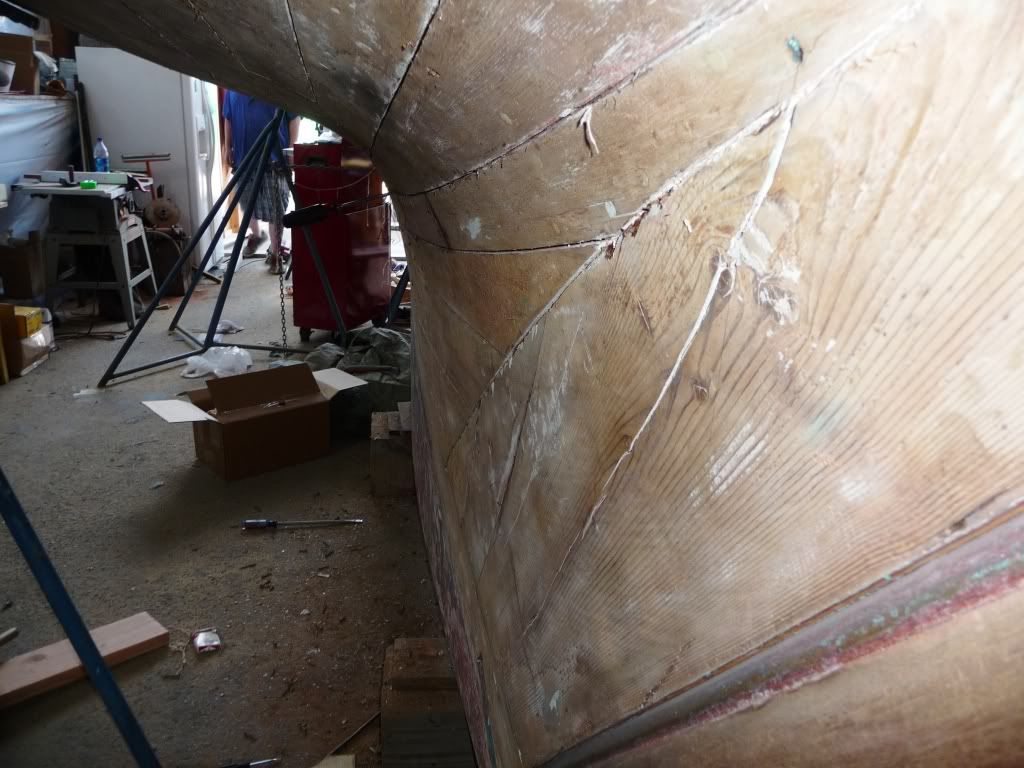
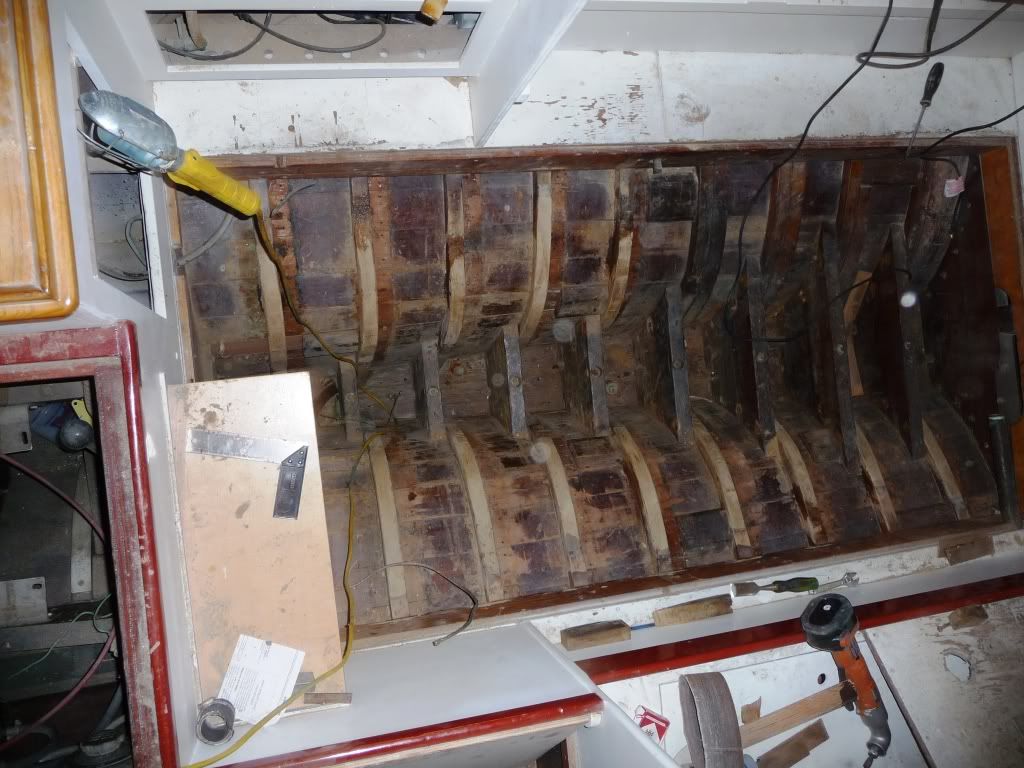
 The
seams do clean up nicely, if well opened. Seeing as how see has 9"
centers on the ribs, I'm not worried about caulking too hard. This is
the best built Kettenburg I've yet seen, much stouter than the K-38's
or PCC's.
The
seams do clean up nicely, if well opened. Seeing as how see has 9"
centers on the ribs, I'm not worried about caulking too hard. This is
the best built Kettenburg I've yet seen, much stouter than the K-38's
or PCC's.
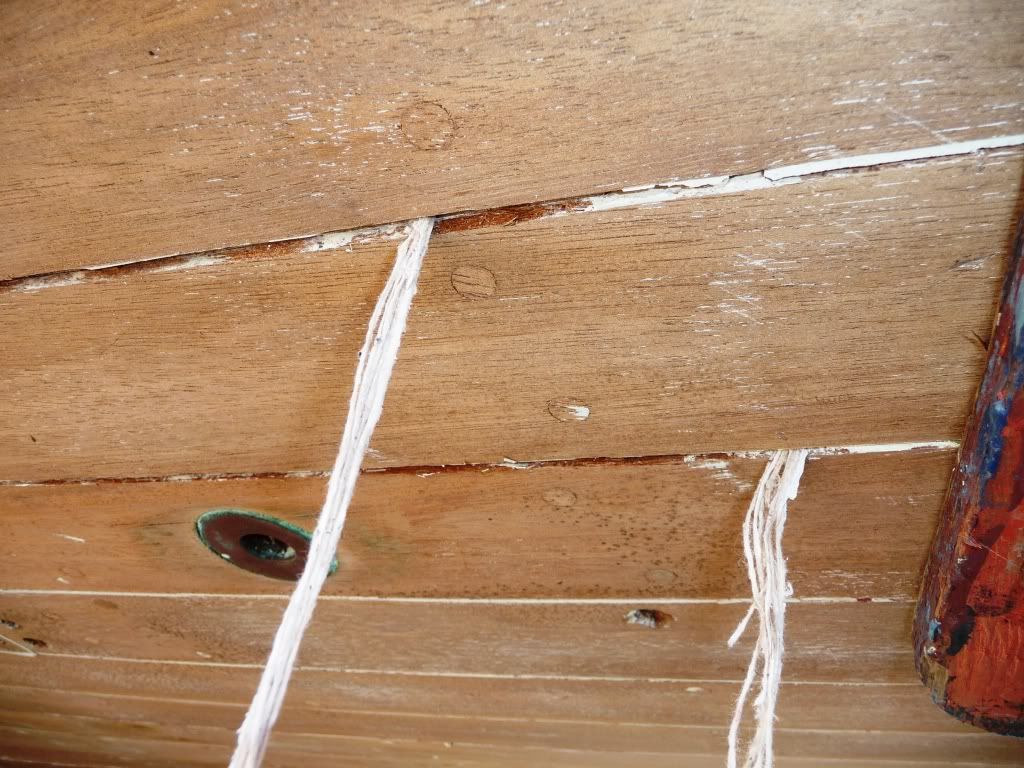
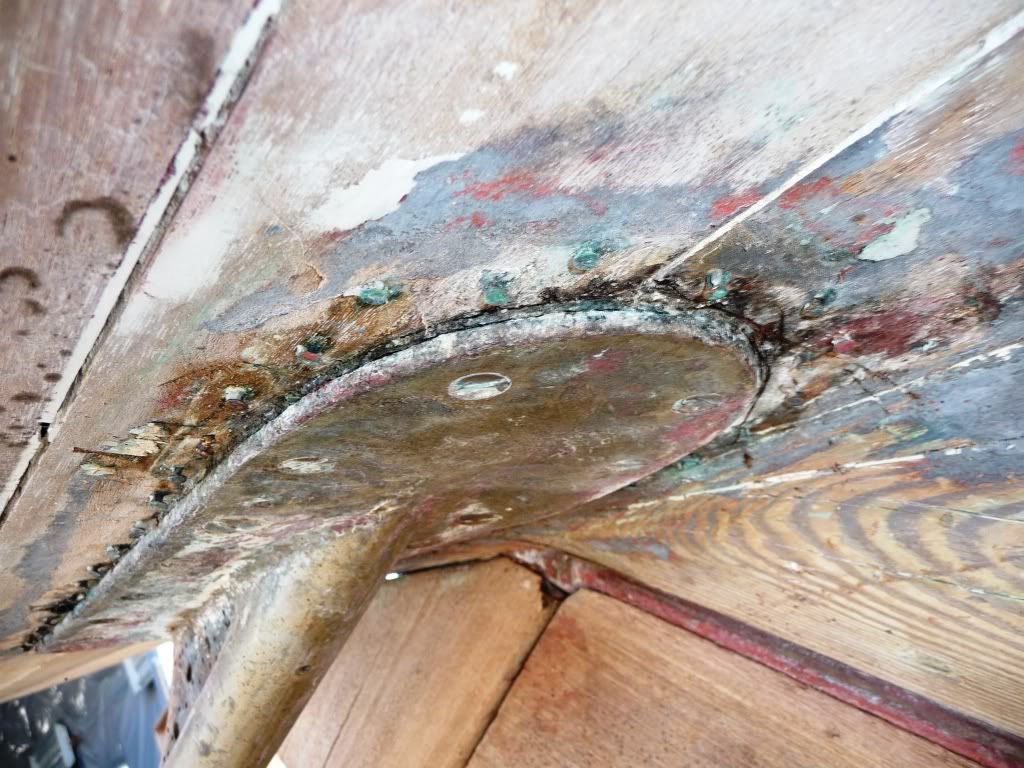
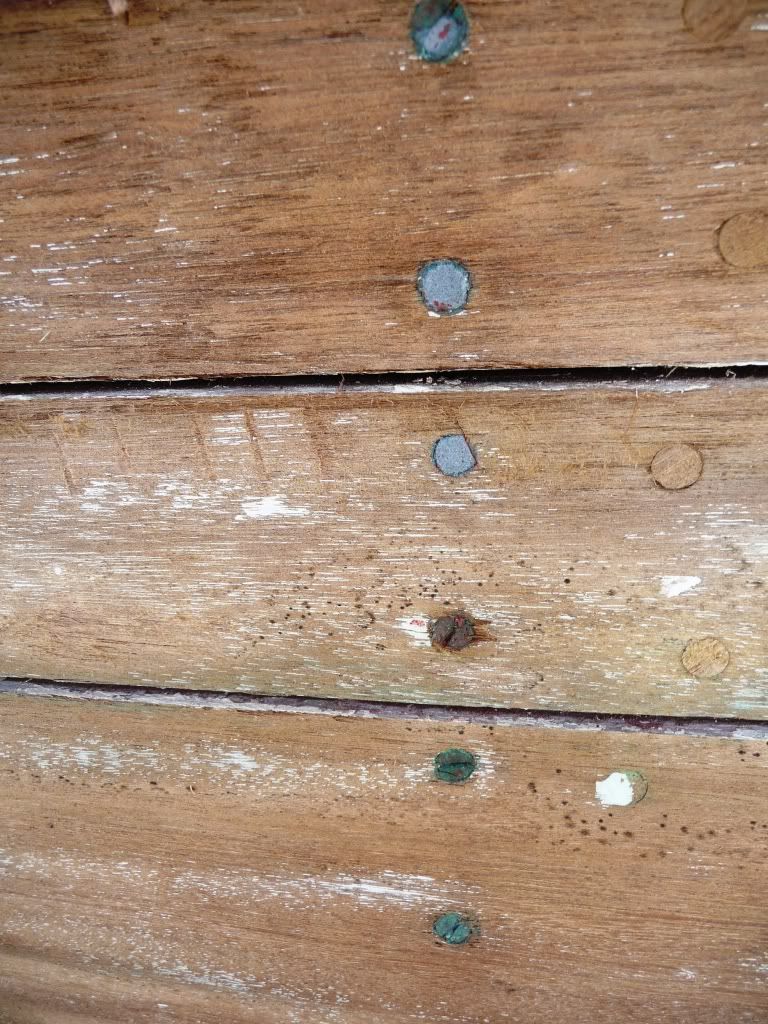
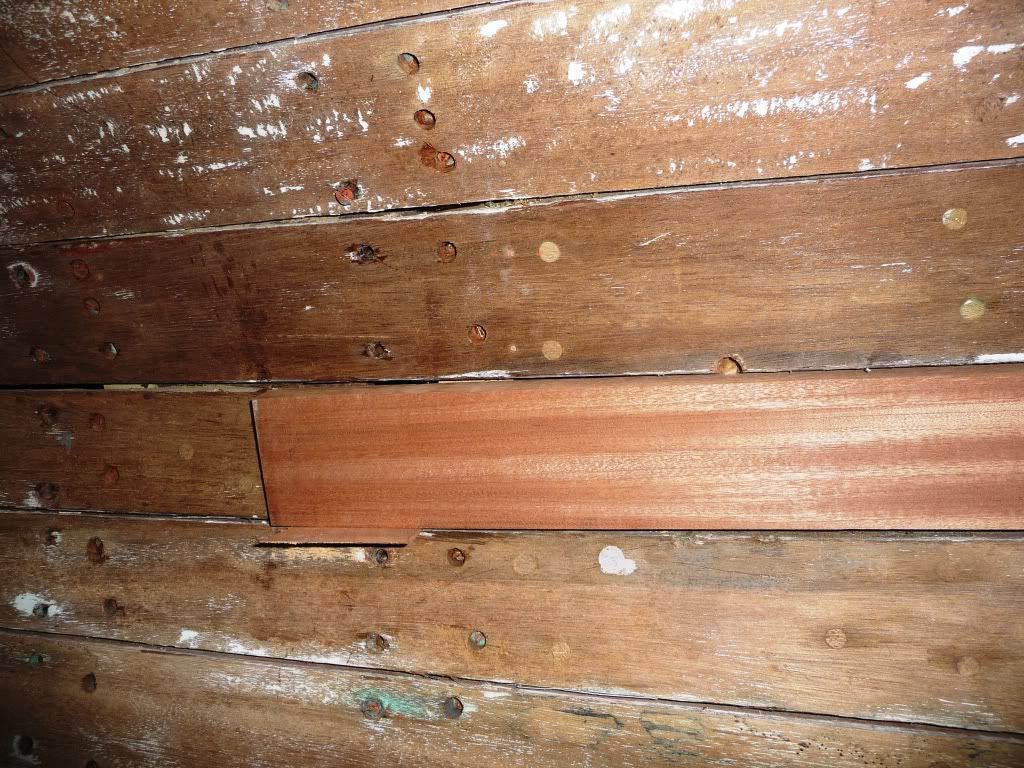
 More
shoddy work in the sisters and transom where they didn't sink the
fasteners enough to set bungs. I'll have to fix this, especially on the
transom where she'll be bright.
More
shoddy work in the sisters and transom where they didn't sink the
fasteners enough to set bungs. I'll have to fix this, especially on the
transom where she'll be bright.
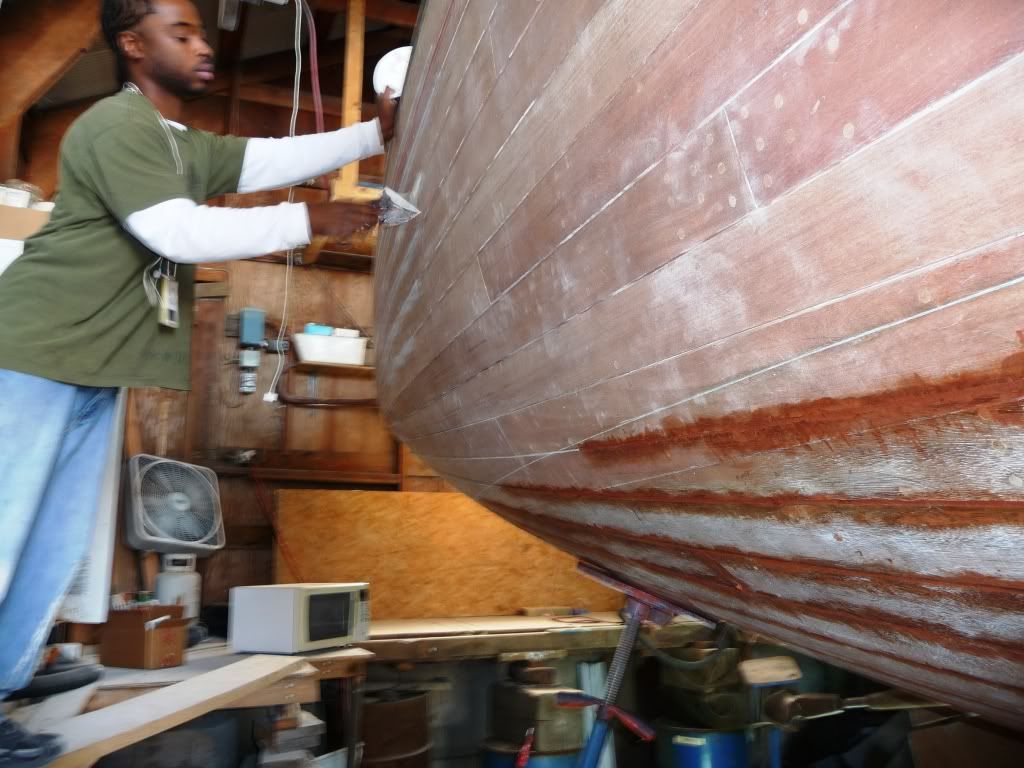
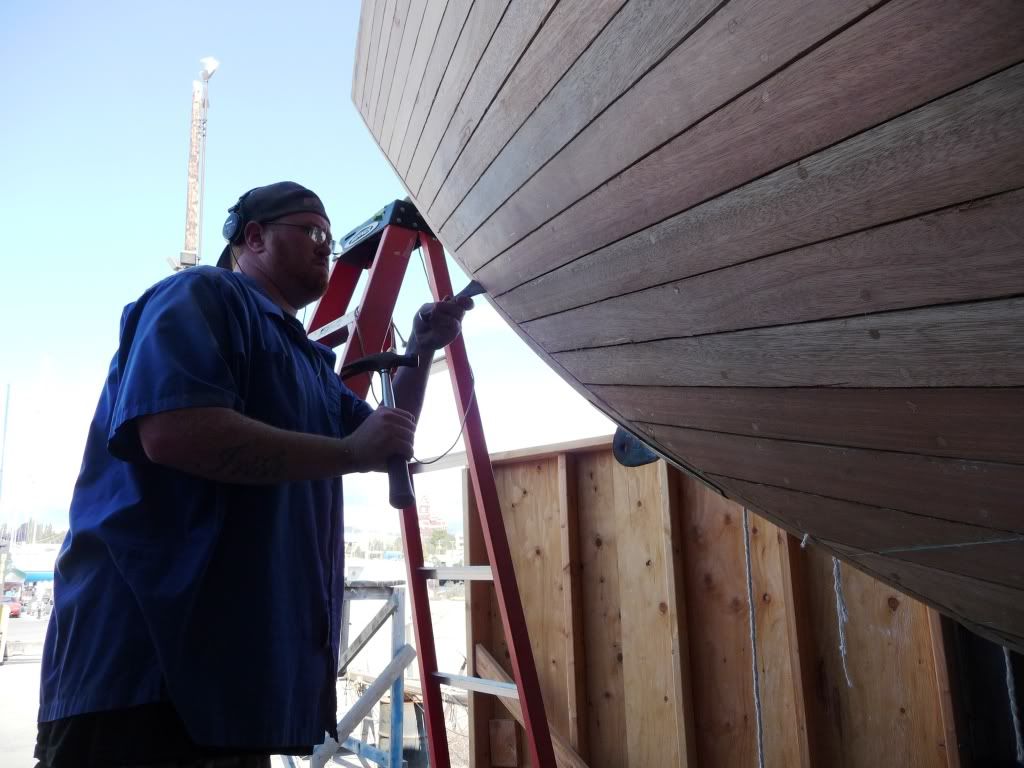
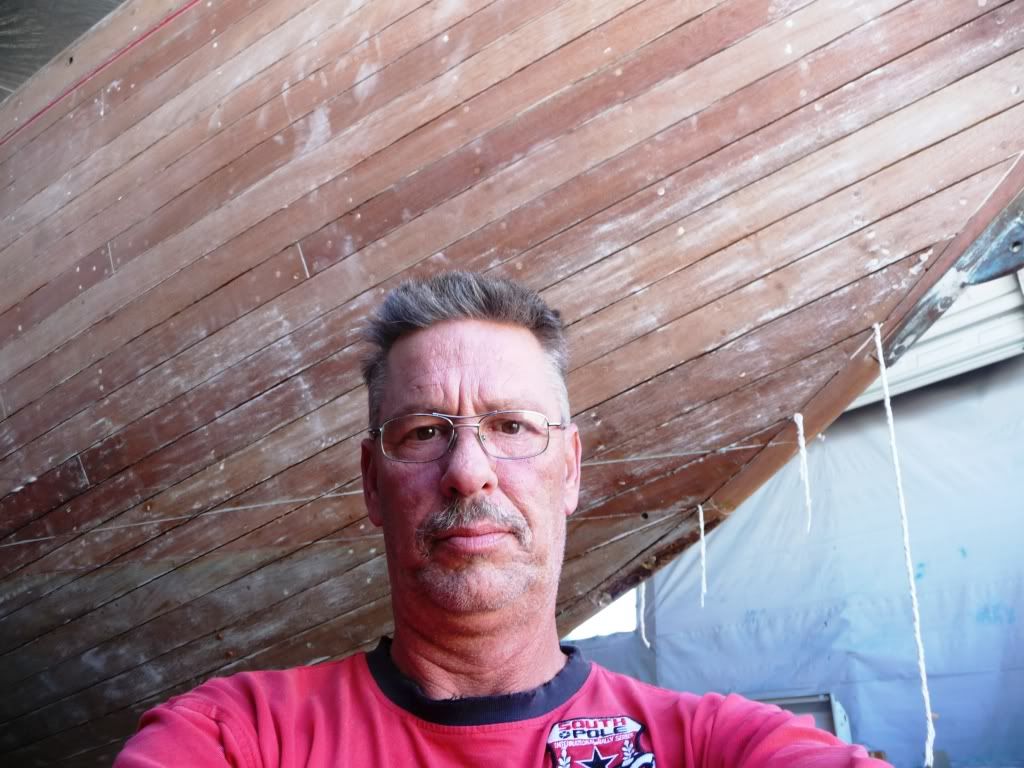
 The
boys have been making good progress as well.
The
boys have been making good progress as well.
 So,
all in all, it's been a bit tedious but steady. She'll go inside
the shop next week for further work as the yard gets nervous with all
of the scraping and carrying on we're doing. We do vacuum up a couple
times a day though. Yes, that's right. We vacuum pavement and dirt to
clean up the paint chips. I reckon we have the cleanest dirt in the
PNW....
So,
all in all, it's been a bit tedious but steady. She'll go inside
the shop next week for further work as the yard gets nervous with all
of the scraping and carrying on we're doing. We do vacuum up a couple
times a day though. Yes, that's right. We vacuum pavement and dirt to
clean up the paint chips. I reckon we have the cleanest dirt in the
PNW....
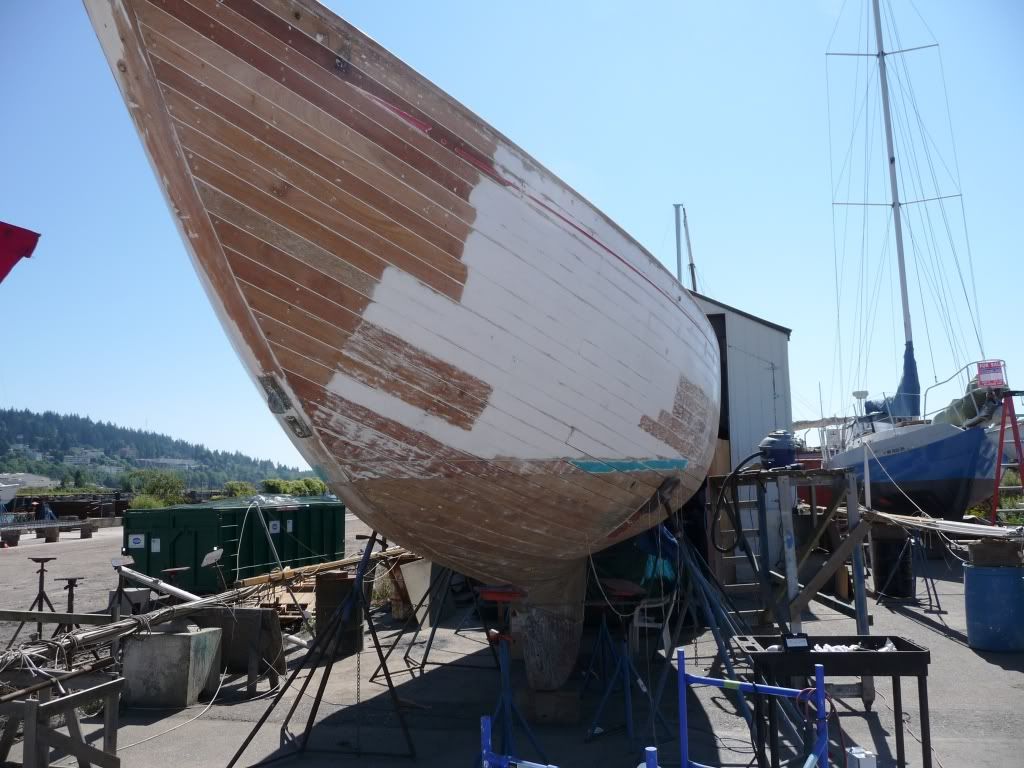
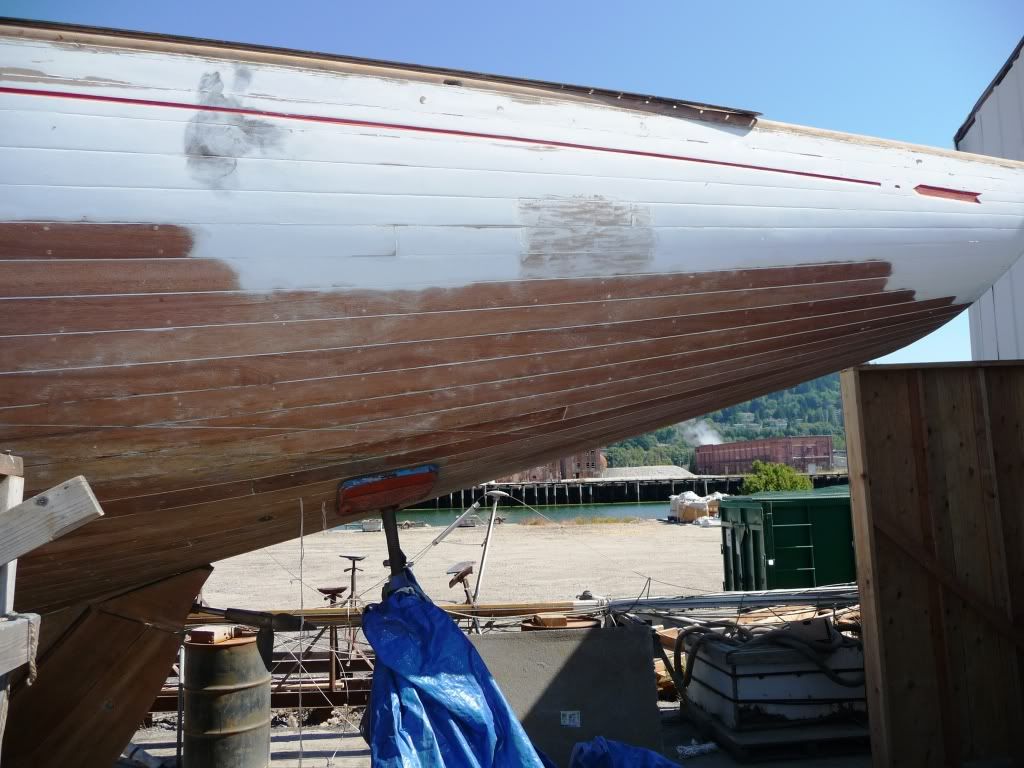
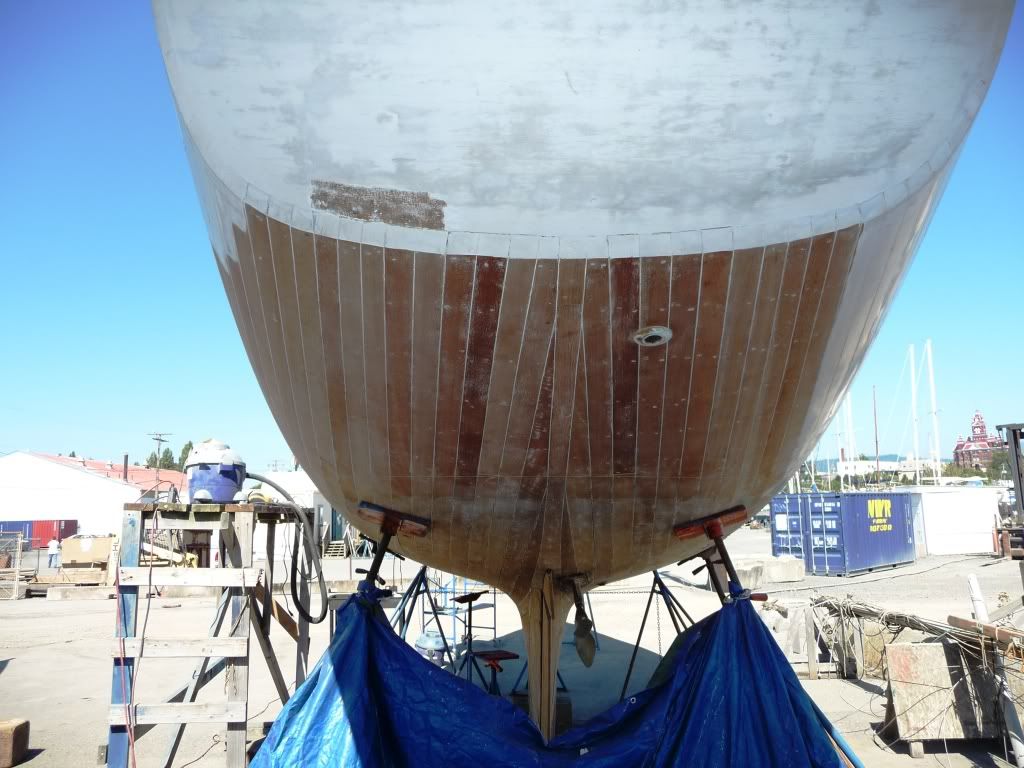
Boat
photos:
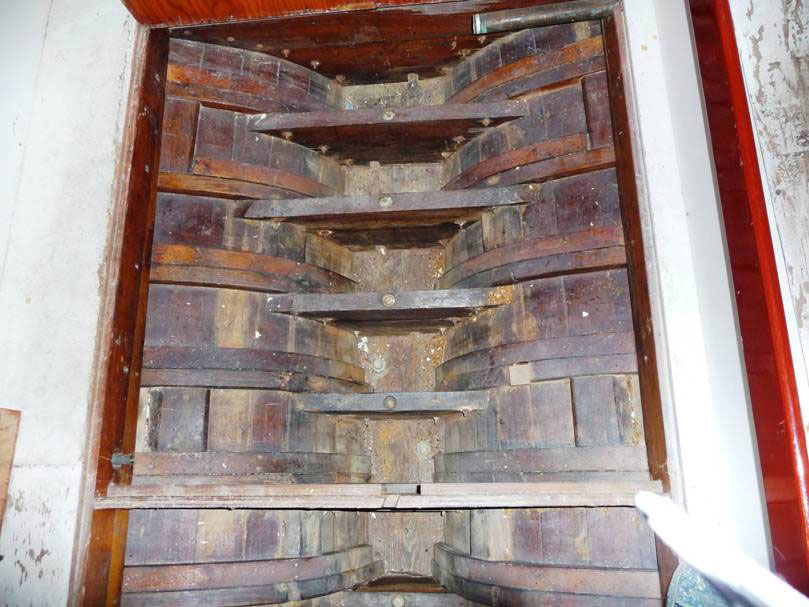
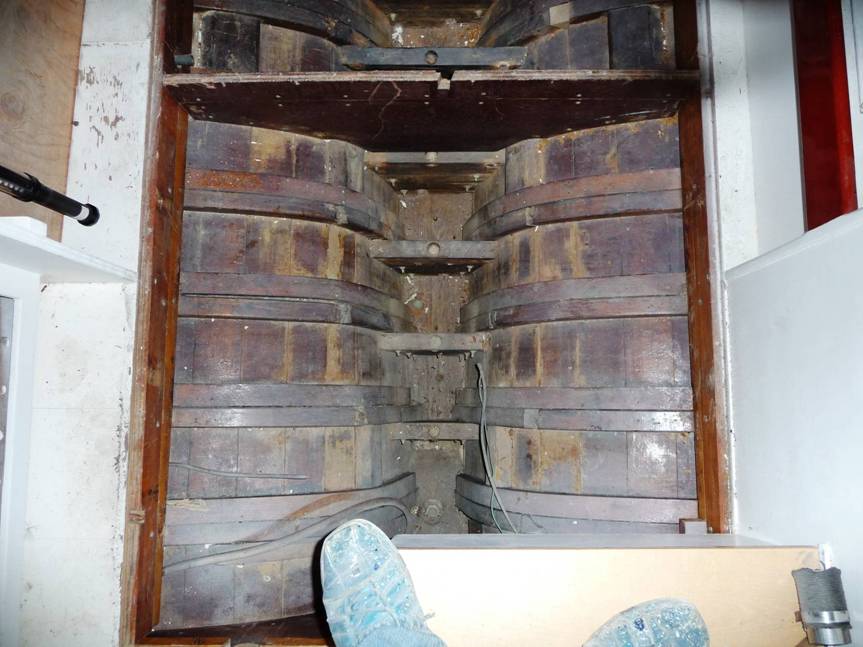
Here
are pictures of the broken and cracked ribs either from old age or the
transit.
 and
and
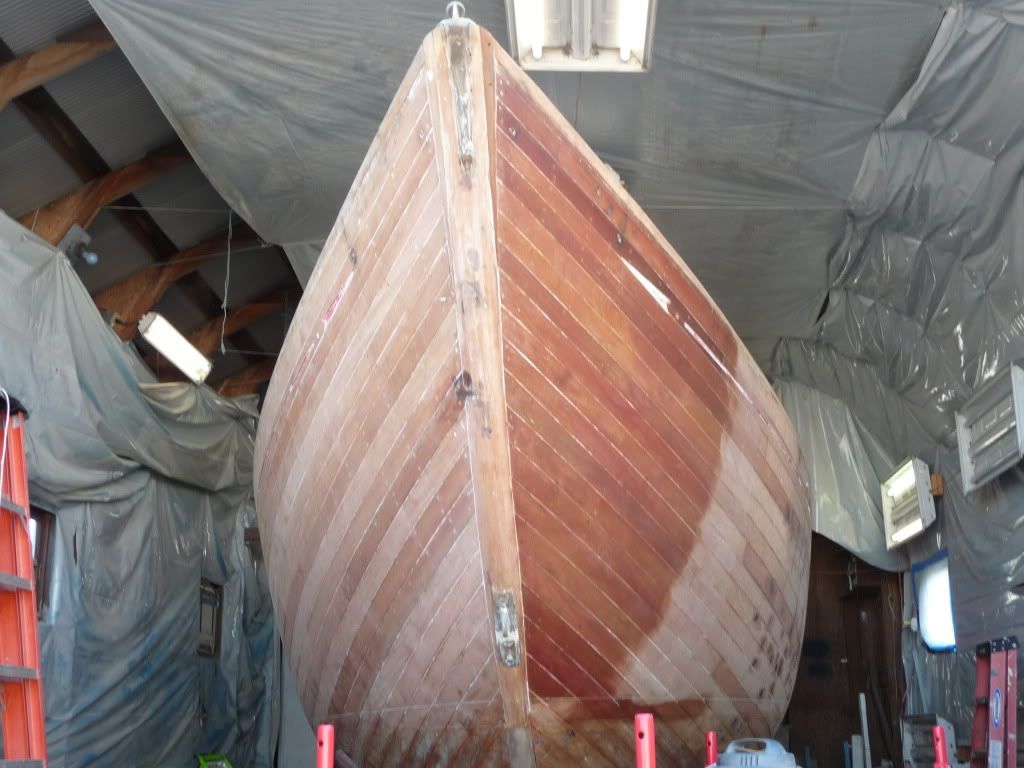
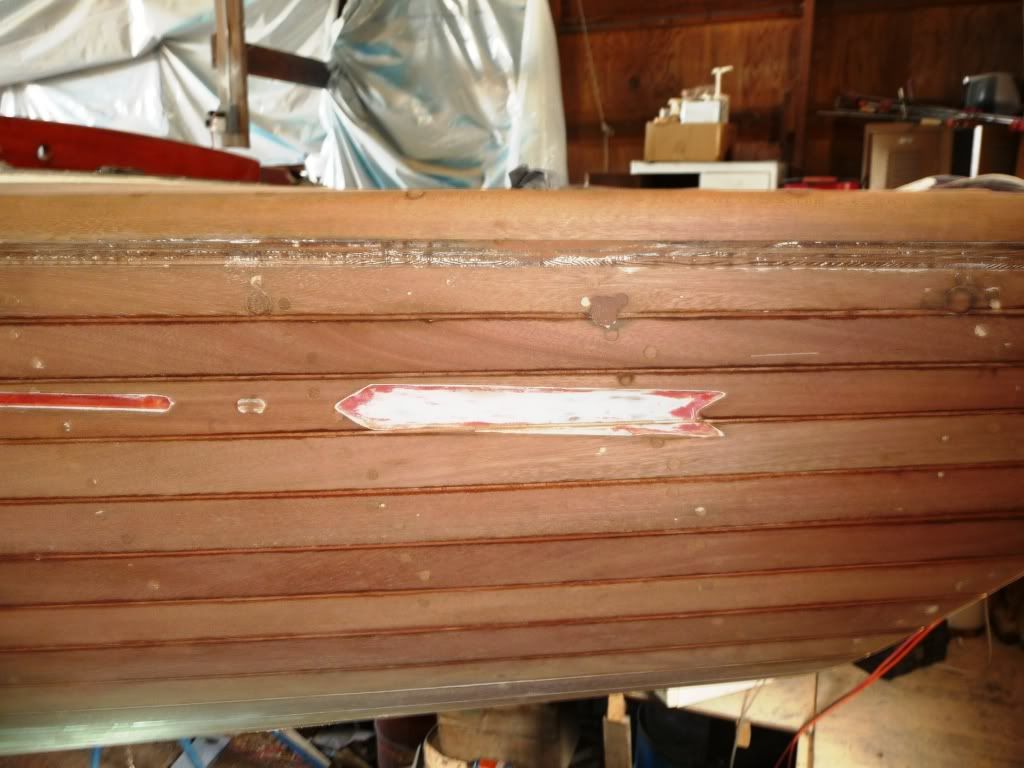
 Still looks kinda orange to me...
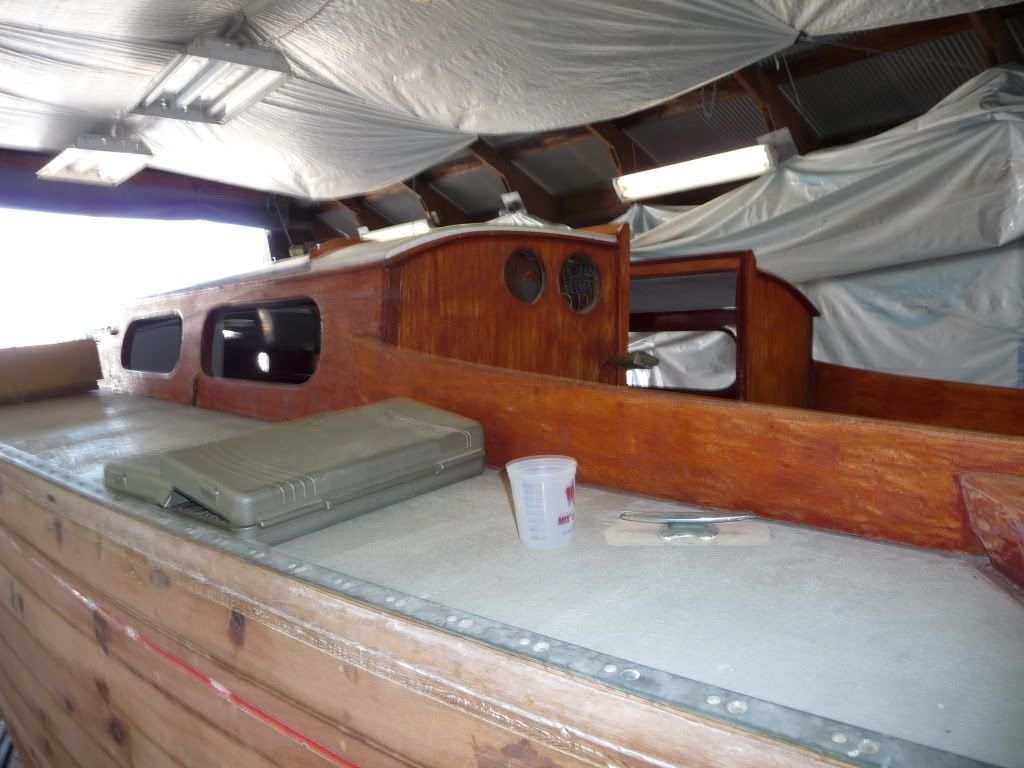
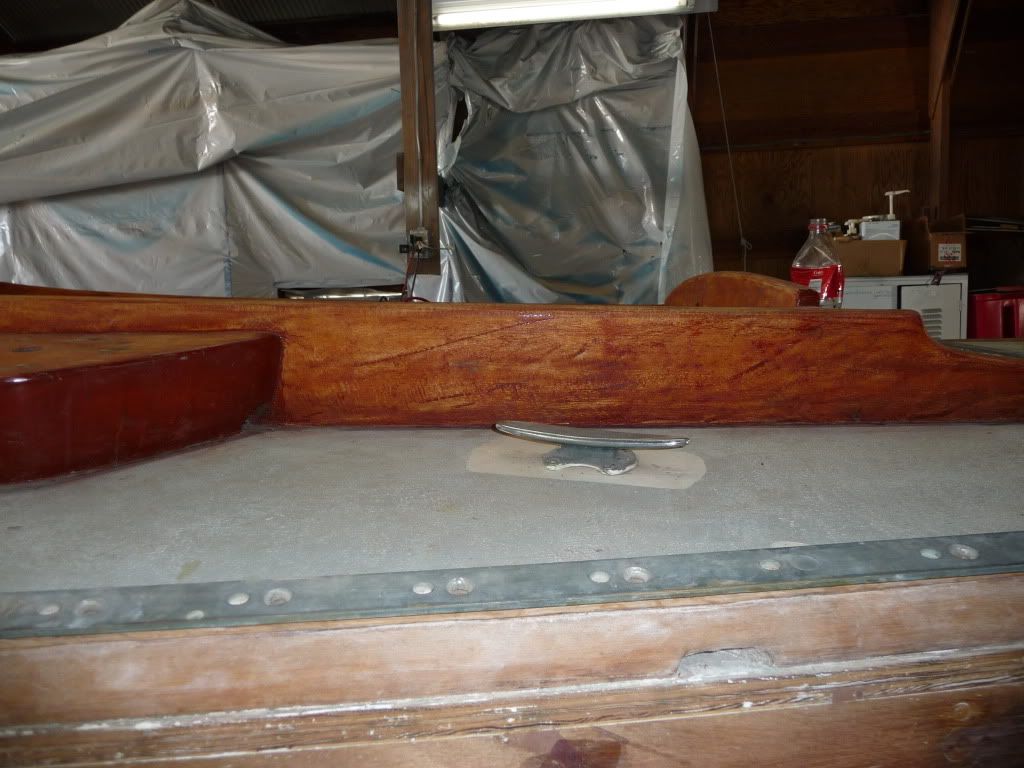
The hull is detailed and ready for stain, mostly. I put some on to see
if the customer likes it.
Still looks kinda orange to me...
The hull is detailed and ready for stain, mostly. I put some on to see
if the customer likes it.
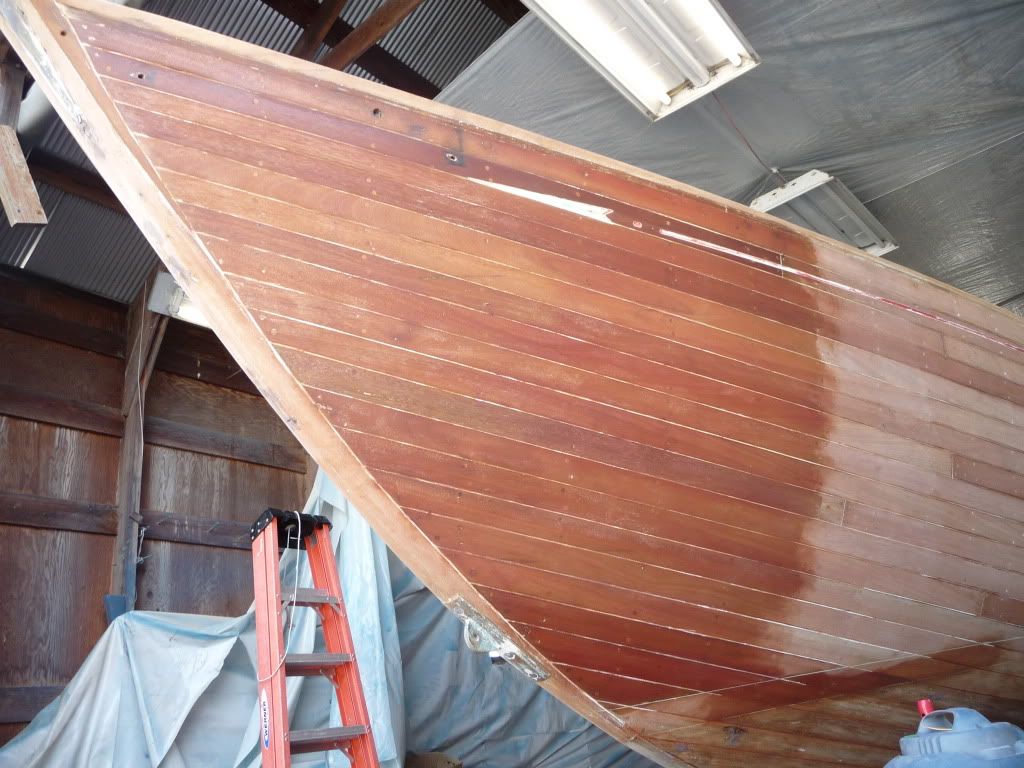
 I
didn't like any of the stock colors so what you see is a two step
process. The base stain followed by a light wiping of a Mahogany Red
stain.
I
didn't like any of the stock colors so what you see is a two step
process. The base stain followed by a light wiping of a Mahogany Red
stain.
 and
and
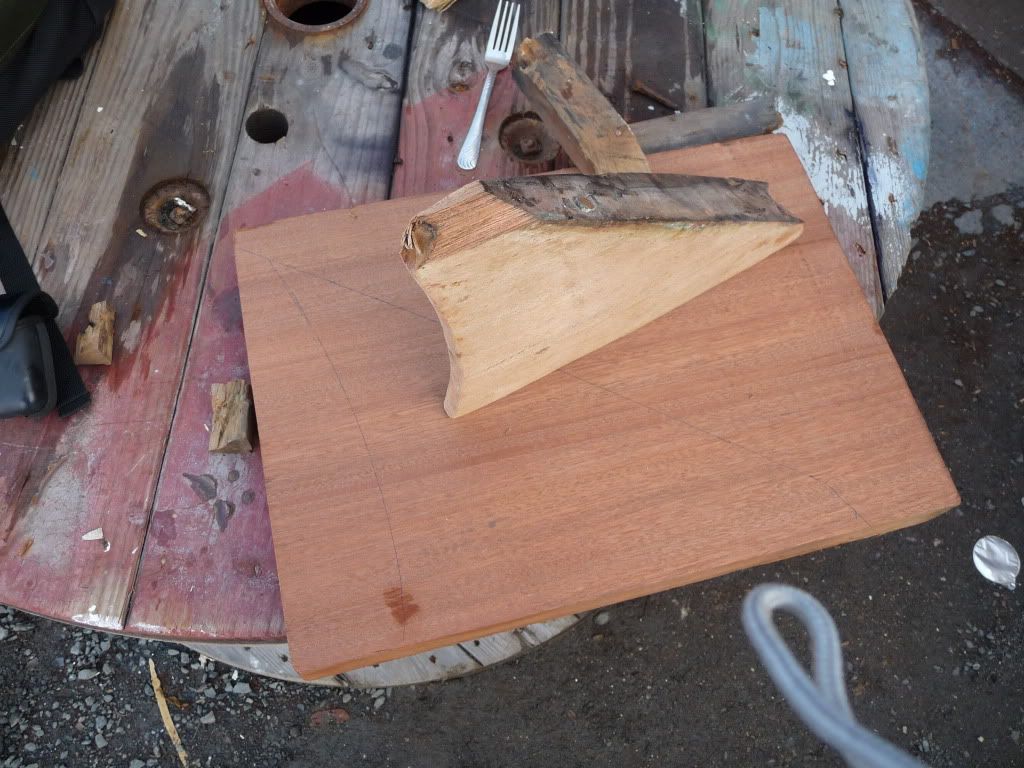
 I still have to hand make this rudder trim piece from that gorgeous
chunk of Sapele.
I still have to hand make this rudder trim piece from that gorgeous
chunk of Sapele.
 Things
are heating up quickly.
Things
are heating up quickly.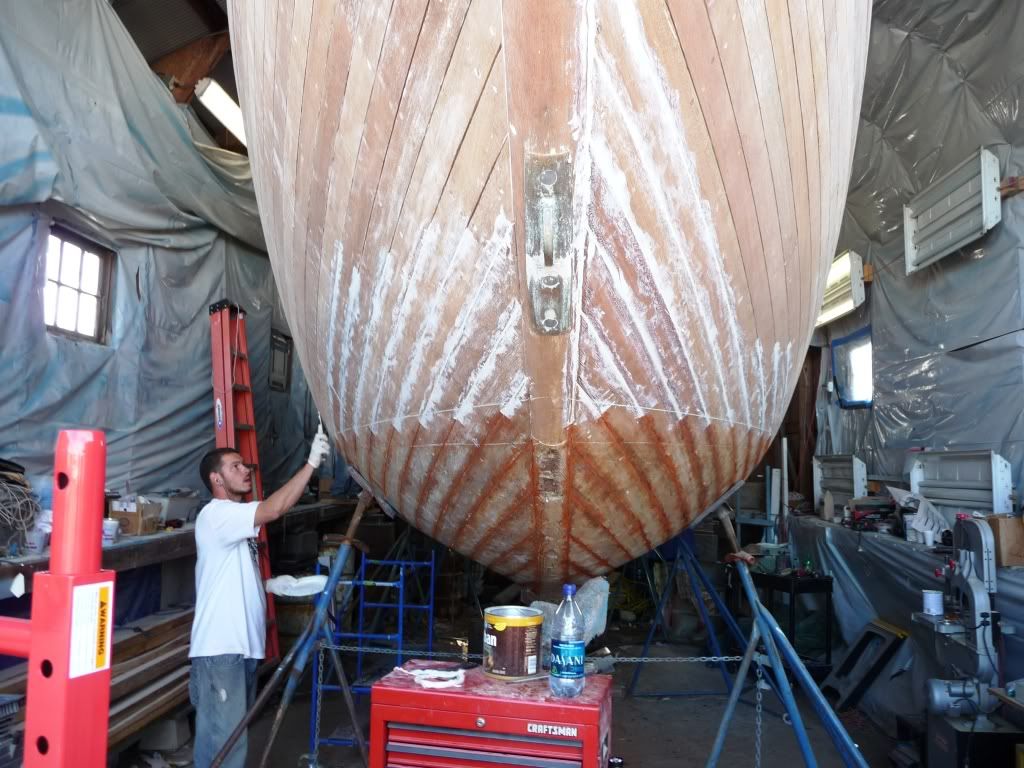 Port
seams
Port
seams
 Starboard
seams
Starboard
seams
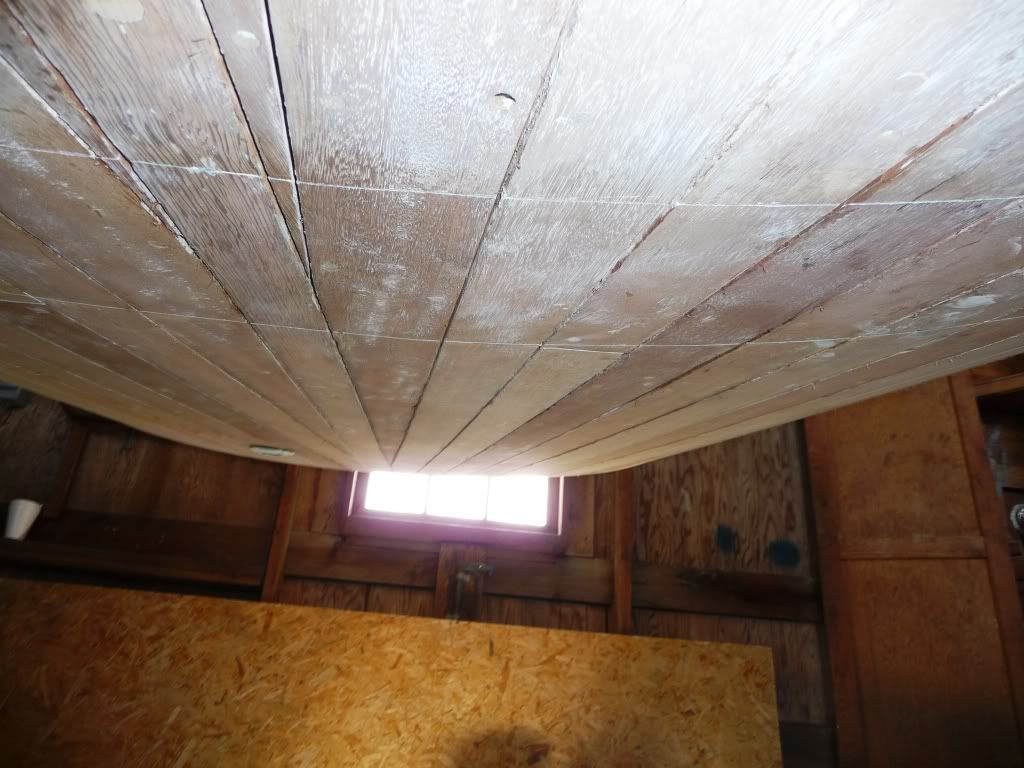
 Finished
lower seams
Finished
lower seams
 Finished
upper seams
Finished
upper seams
 I
will surely be happy when these seams are completely done. It's been a
chore beyond compare. There's paint in the bilges but it's not ready
for prime-time yet so those shots will have to wait till next weeks
update.
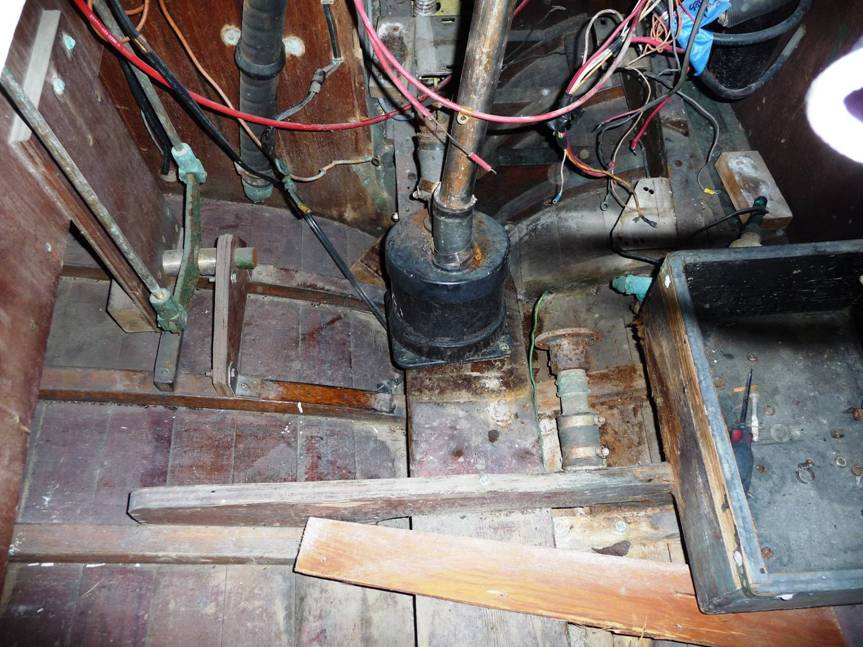
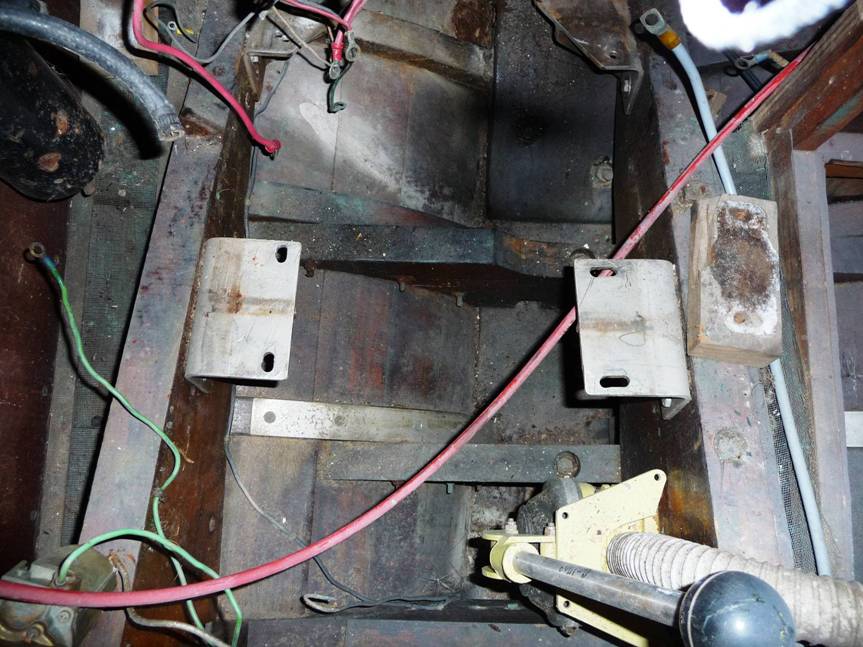
One thing we found is absolutely not a single valve on any of the thru
hulls. Just hoses. We'll be changing that....
I
will surely be happy when these seams are completely done. It's been a
chore beyond compare. There's paint in the bilges but it's not ready
for prime-time yet so those shots will have to wait till next weeks
update.
One thing we found is absolutely not a single valve on any of the thru
hulls. Just hoses. We'll be changing that....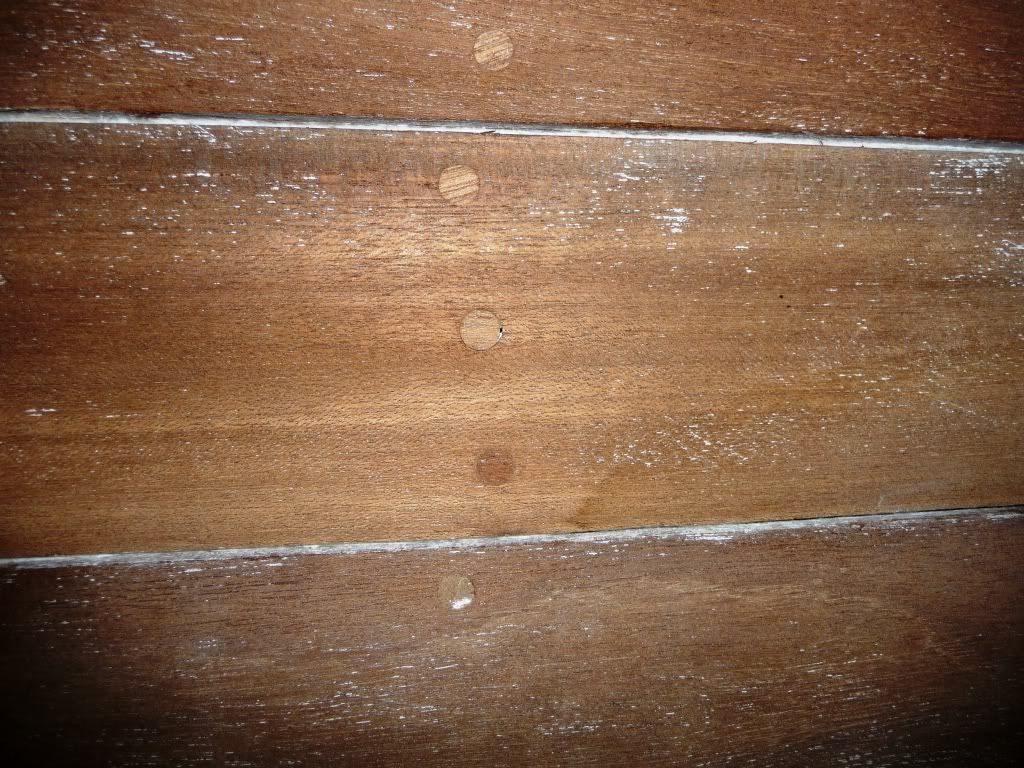 This
afternoon, I started applying seam compound. Nasty, NASTY stuff to work
with. Very stiff and clay like. It doesn't like sticking to the inside
of the planking and will sometimes fall out just when you think ya have
it set. Very oderifous as well so ya know you've been at it too long
when ya can't smell it anymore.
This
afternoon, I started applying seam compound. Nasty, NASTY stuff to work
with. Very stiff and clay like. It doesn't like sticking to the inside
of the planking and will sometimes fall out just when you think ya have
it set. Very oderifous as well so ya know you've been at it too long
when ya can't smell it anymore.
 Yeah,
that's pretty ugly but I'll clean it up tomorrow after it's cured a
bit. Jay was on the same side still paying seams further up the hull.
Yeah,
that's pretty ugly but I'll clean it up tomorrow after it's cured a
bit. Jay was on the same side still paying seams further up the hull.
 He
came in with a Samurai topknot today, interesting doo. Zach was forward
finishing the seam along the stem post that runs all the way from the
back of the keelson.
He
came in with a Samurai topknot today, interesting doo. Zach was forward
finishing the seam along the stem post that runs all the way from the
back of the keelson.
 Charles
was hanging out by himself to Starboard working seams.
Charles
was hanging out by himself to Starboard working seams.
 Me?
I was relaxing some kinks after laying in that section of compound. My
hands were sore today.
Me?
I was relaxing some kinks after laying in that section of compound. My
hands were sore today.
 Them
there Boys get to join the compounding fun starting tomorrow....
Anyways, that's another week and at least it looks like we're making
headway at last.
Them
there Boys get to join the compounding fun starting tomorrow....
Anyways, that's another week and at least it looks like we're making
headway at last. I cut the piece and fitted it in with shims at first.
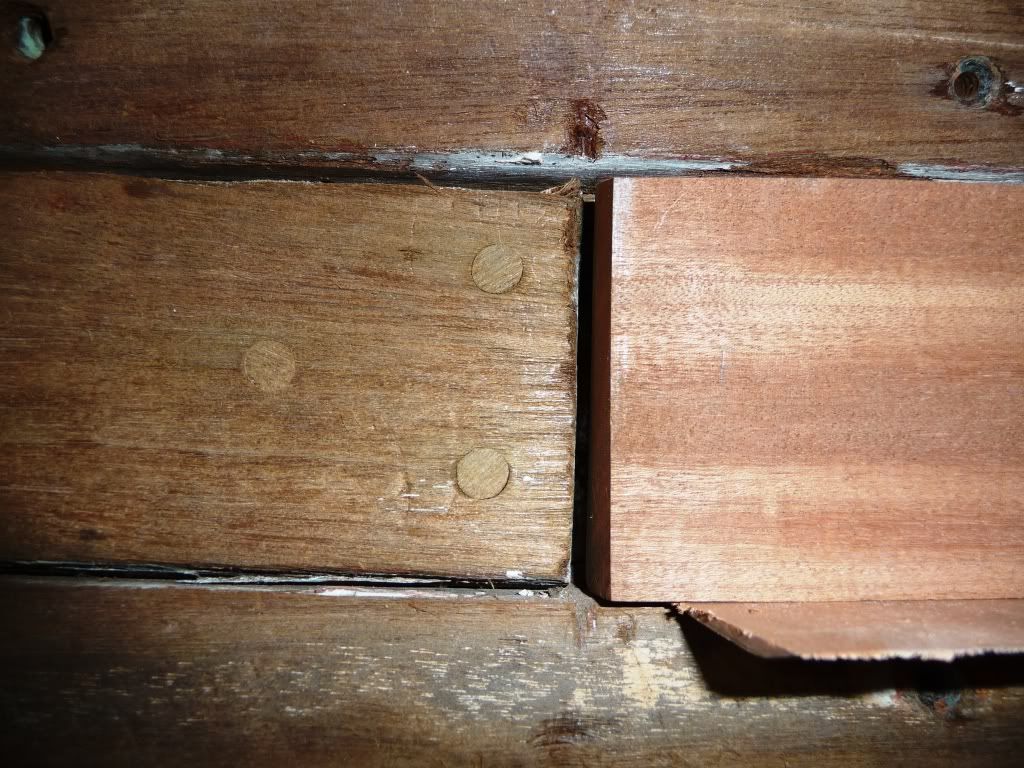 I
bored the new screw holes prior to glue up and then mixed epoxy and
mahogany sawdust. I set the scarph joint with screws and let it cook a
bit before I had big Zach press the new plank flush while I drove
screws.
I
bored the new screw holes prior to glue up and then mixed epoxy and
mahogany sawdust. I set the scarph joint with screws and let it cook a
bit before I had big Zach press the new plank flush while I drove
screws.
 It flushed out nicely.
 The boys worked the seams again today.
 I should do these last three salon ribs tomorrow.
 and so it goes....